-Sarah
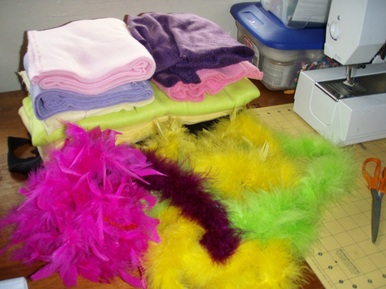
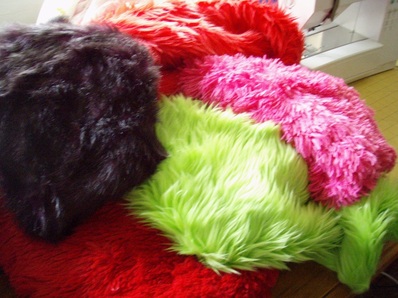
I was hanging out with my sister today, making plans for future puppets--oh my gosh, the fur we found!!!--and she shared this video with me. I dare you not to laugh or sing along. 
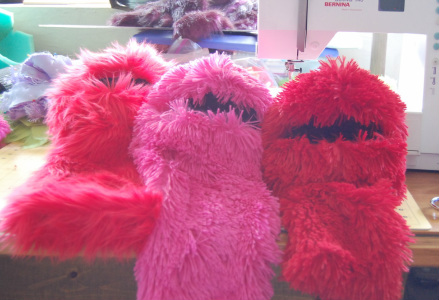
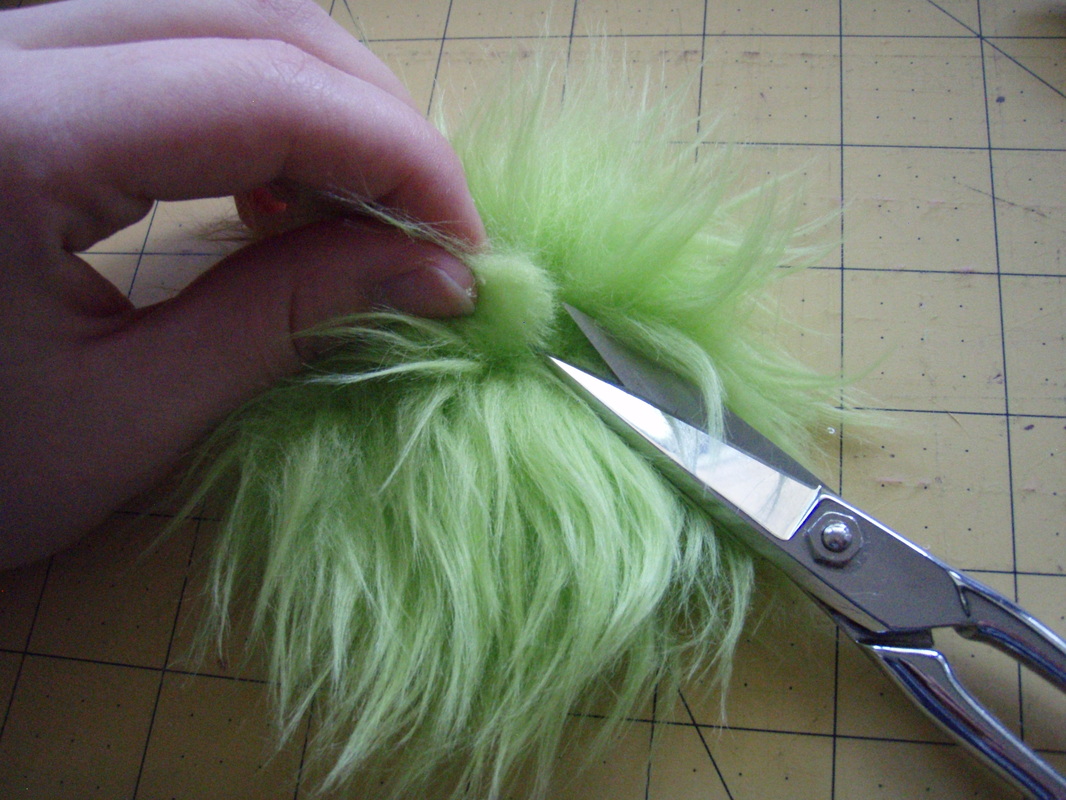
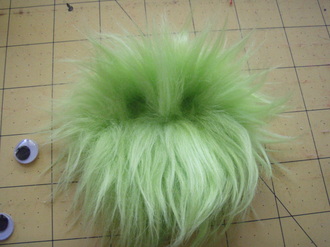
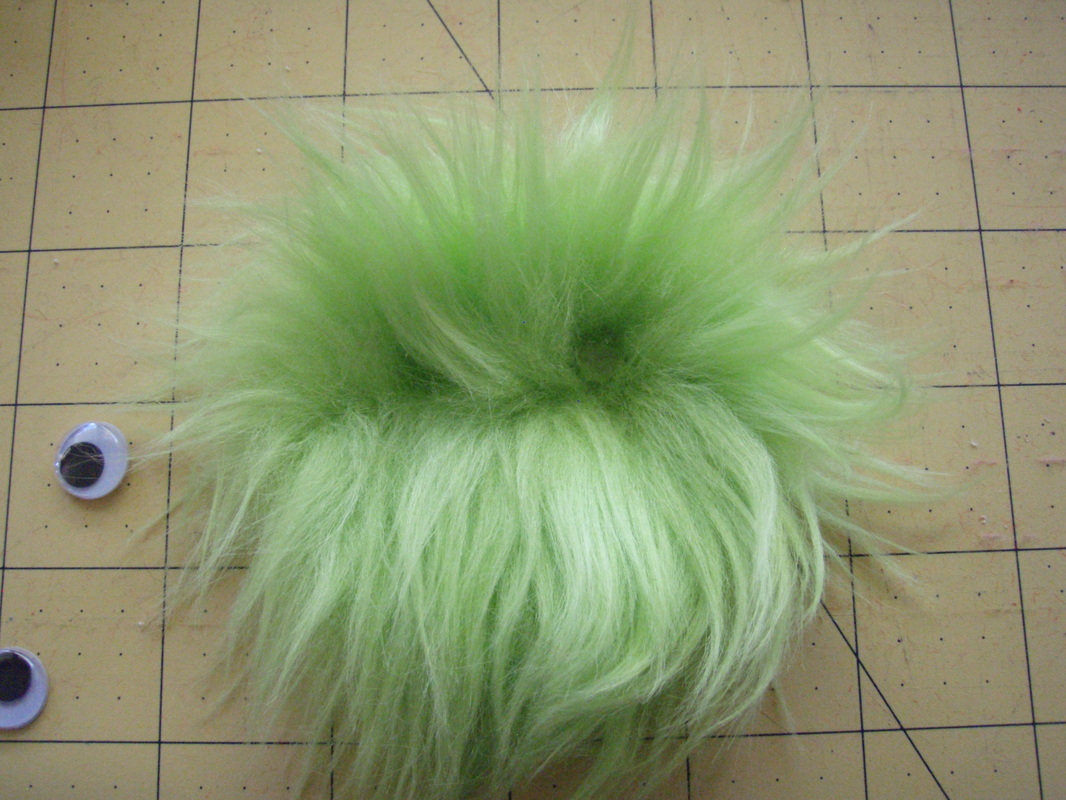
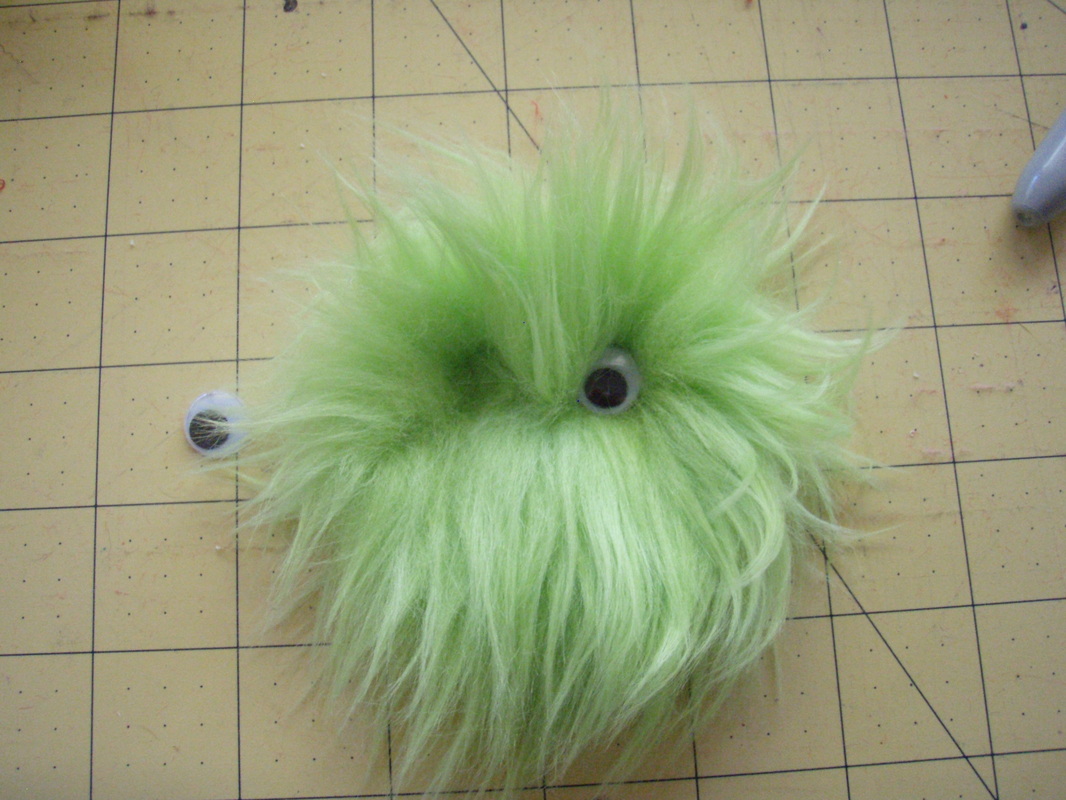
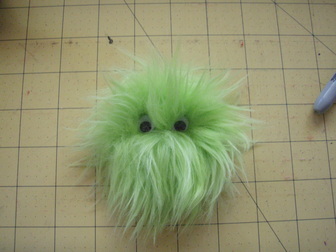
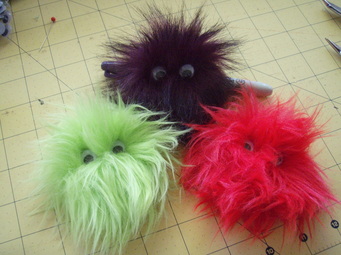
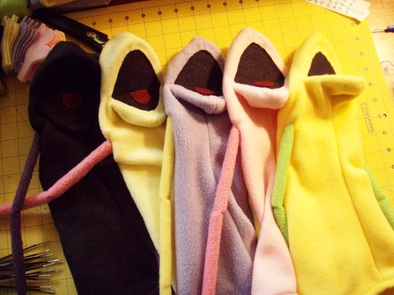
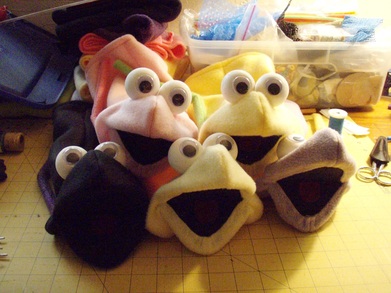
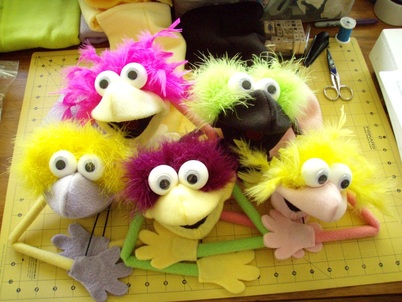
Oh my, this makes me happy. In other news, I have been creating some more characters to add to our puppet family. These three are almost ready to go. They just need eyes and arms. What do you think? I'm definitely getting an Elmo vibe from the one on the right. Well, back to the sewing machine. Have a wonderful Monday!
-Sarah
1 Comment
Introducing Froggymodo! This funny little froggy is the result of a project I started months ago and had given up on. I found him a few days ago in several unassembled, squished pieces at the bottom of a box. I don't know why, but I decided that now would be a great time to finish him up. He's not quite what I envisioned when I started all those months ago, but I think he turned out kinda cute. A little funny, maybe, but any frog can be a prince in my opinion. Ooh, maybe I should make him a crown! Anyway, he is cute. He is done. He will be available in my Etsy shop shortly.
What do you think of him? Would you kiss this frog? -Sarah PS. See those piles of fur behind him? I have been cutting out fabric for days getting ready to make some more furry muppet monsters! Wow, wow, wow! Who ever thought this little business would grow to have 300 fans? Certainly not me. I'm completely thrilled. Thank you to everyone who has helped us get here! It's one of the best feelings in the world to know that people appreciate my work. In honor of these 300 amazing people who have shown support and facebook love for On Hand By Hand, we are having a giveaway! I haven't decided yet what the prize will be, but I'll keep you posted. In the meantime, head over to our facebook page to enter the giveaway. You know it will be awesome.
-Sarah UPDATE: The prize will be a custom made baby monster puppet designed by the winner! How exciting is that?! These fun fridge magnets are super simple and cost next to nothing to create. You’ve probably got most of the supplies on hand already. This is a great project for kids too (just make sure an adult is in charge of the hot glue gun). You can use these little guys to liven up your fridge, give away as party favors for a monster themed birthday party, give as Christmas or birthday gifts, use as a locker buddy, or just make someone smile. After all, everyone needs a cute little monster magnet, right? Here are the supplies you will need:
Now that you’ve got your supplies, plug in that glue gun and let’s get started!
2. Glue the cardboard circle to your black fleece (or whatever you’re using as the backing fabric) and cut around the cardboard circle close to the edges. You don’t need to leave any spare fabric around the outside. 3. Lay your circle onto the back of the fur and trace around it ¼”. Cut out your fur circle. Here’s a tip for cutting fur: always cut from the back and only cut the fabric the fur is connected to--not the fur itself. This will take a little longer than chomping through the whole thing (fabric and fur), but you’ll be glad you took the time. If you cut through the fur itself, it will be super messy and look choppy and uneven on the front. Once you’ve cut out your fur circle, flip it over and gently pull any loose fur away. 4. Flip it back over and glue the uncovered side of your cardboard circle to the center of the fur. 5. Clip small triangles all around the fur circle about 1” apart. 6. Glue down the edges of the fur one section at a time working your way around the circle. You only need to put down a small line of glue at a time. If you use too much, the extra will be pushed out and onto your finger. Ouch! 7. Using the tip of your scissors, trim the fur that has been wrapped around the back down to the fabric so the back of your monster is nice and flat. This will keep fur out of the way of the magnet. If you like things neat and tidy like me, go ahead and trim off any excess glue or weird edges here as well. 8. Now for the magnet. Easy peasy—glue it to the center of your circle. 9. Flip it over and figure out where you want the eyes to go. Once you’ve found a good placement, trim the patches of fur where the eyes will sit down to the fabric so the eyes have a nice solid place to stick. 10. Glue the eyes into the eye sockets. A small bead of glue will work just fine. If any excess glue seeps out from under the eyes, wait for it to cool and trim it out as best you can with the tip of your scissors. Luckily, fur will hide any sort of mishap like that quite nicely. And you are done! Now you can go make lots of friends for your new little monster magnet! Or go monster bombing around the house... If you have any questions about this tutorial, please feel free to ask. I'll do my best to clear up anything that may be confusing. Also, please respect my rights as the creator of these monsters and do not sell the finished product or reproduce this tutorial or any of the pictures as your own. If you want to share this on your blog, let me know! Thanks!
-Sarah I'm excited to be able to share a few photos of my puppet creating process with you. Please forgive the poor lighting in the first two pics. It was late and there's only so much one small lamp can do. Anyway, you saw the pile of materials in my last post and here is what that pile turned into: Cutting, sewing, and mouth installation complete. And only one small hot glue burn, folks! (this is a big deal) Bald! But apparently extremely happy. Can you believe the personality something as simple as googly eyes can give to these guys? And done! Don't they look like fun? I'm thrilled with how they turned out and I can't wait for them to get to their new home. There are big things in store for these guys, including tutus, tiaras, and tiny hats. If I have permission from my buyer, I'll post some pics of them in all their glory later on. -Sarah
I finally have all the materials I need to get going on some custom puppets. Can you believe all of these colors? Once I turn this pile of color into puppets, they will be sent to Canada to be bridesmaid gifts! How cool is that? I am so excited! I'll keep everyone posted on the progress. I also have some other projects in the works. Mostly involving this pile of goodness: Furry Muppet Monsters, coming up! Woohoo!
Man, everything is so complicated. I've been working all afternoon trying to get the shop feature going, but after all of my efforts, it just looked so ugly and unfriendly. After some searching, I found a separate shop website that I can integrate into this website that shows some really lovely examples, but it's looking like it will take quite some time for me to figure it out. Sigh. I knew I should have taken more computer classes in college. Or at least made friends with someone who took more computer classes in college. Anyway, I guess the point of this little rant is that I am STILL working on getting the shop feature up just the way I like it and it may be a while longer. Meanwhile, the etsy shop is still functioning (www.onhandbyhand.etsy.com) and you can see everything we have available there. Funny how the whole point of adding a shop feature on this website was to simplify things...
So, I've been debating whether or not to sell these guys online. They've done quite well at craft shows, but it's hard to show the movement and how extremely awesome they are with only a few pictures. They really are a lot of fun. I find them completely charming, especially crawling up someone's arm. Anyway, I think I've finally decided to try out the online market to see what happens. I'll be listing them exclusively on this website soon. This will help me fulfill three purposes; 1) to see if anyone's interested in buying caterpillar puppets online, 2) to test the onsite shop feature, 3) to use up the bits of scrap fur I have lying around. Sweet! I'm excited. You should be too. Well, we've finally got the website going! What do you think? Needs some work, right? That's ok. Like everything else in life, I'm figuring it out as I go. I'm hoping that this website will become a go-to spot for our fans to find out news, see sneak peaks of new puppets, get ideas for different ways to implement puppetry into teaching, playing, and interacting with children, and basically get to know the masterminds (heh) behind this thing. I also want this to be a place where you can ask questions, discuss puppets (see Community page), and get to know one another. I love sharing ideas and getting to know people who share my interests. And I love the creative world of puppets. Let the puppet rumpus begin!
|
AuthorsSarah & Susan-Two creative puppet loving sisters just sharing what we know, what we do, and how we create. Click here for more about us. TutorialsCategories
All
Archives
July 2015
Websites We Love |