
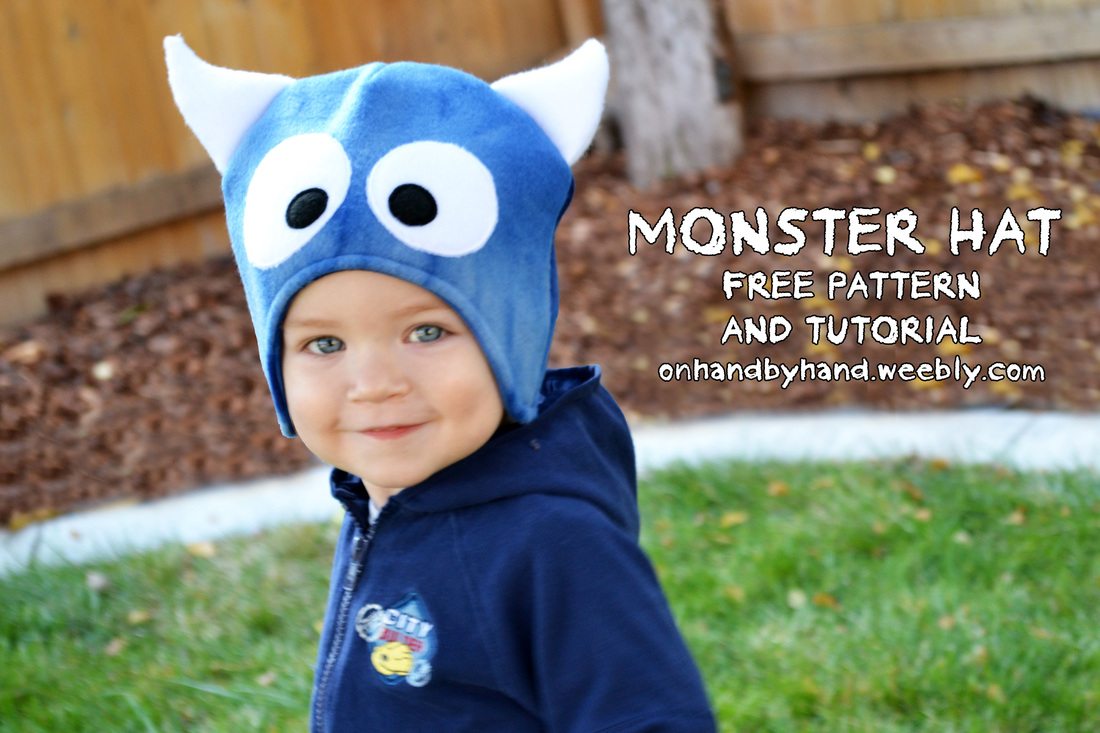
These hats make me smile. I first started making and selling them over a year ago and my own kids happily kept warm and got the best looks and compliments all winter long while wearing theirs. So I decided to share the pattern and teach you how to make your own! They are very simple, so even beginners should be able to handle it.
(And don't worry, you can still buy them in our etsy shop or order a custom one (including satin lined) here on the website if you don't have the skills or desire to sew one right now!)
(And don't worry, you can still buy them in our etsy shop or order a custom one (including satin lined) here on the website if you don't have the skills or desire to sew one right now!)
Supplies Needed:
-1/3 Yard of Fleece in whatever color you want your hat
-1/8 Yard/Scraps of White Fleece for the eyes and horns
-Scraps of Black Fleece for eye pupils
-Thread to match
-Small amount of fiberfill stuffing for the horns
-Tissue Paper
-Pattern (Click below to download. Make sure to print Actual Size- not to fit)
| mhatpattern.pdf |
This pattern is for personal use only. You may not repost or resell the pattern. You may not sell hats made from this pattern. You may link to this post. You may print it out and use it to make as many hats as you like to keep or give as gifts! Please enjoy responsibly :)
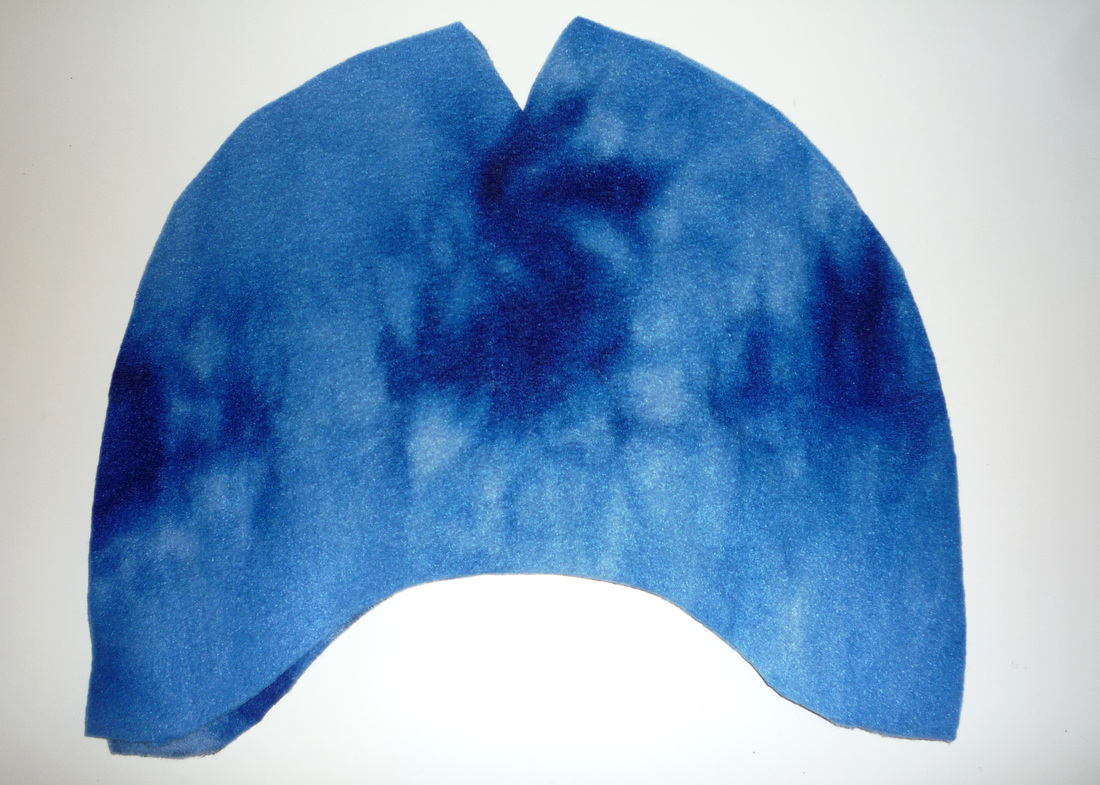 1. Take the pattern and cut out 4 pieces from your main fabric. I used a fun blue tie-dye fleece for my little dude's hat. Two are your main fabric pieces and two are for the lining. Make sure the direction the fleece stretches goes from side to side on the hat, rather than up and down, before you cut it out. | 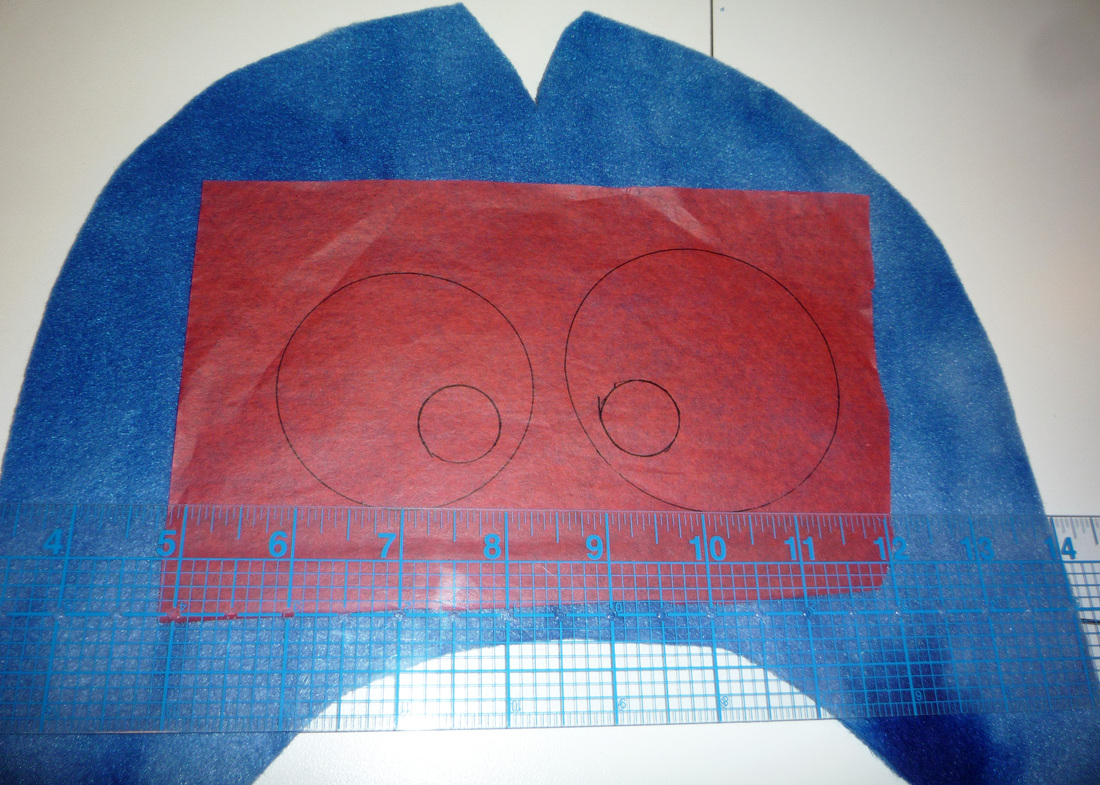 2. Trace your eyes onto a piece of tissue paper. Take one of the main fleece pieces and pin the tissue paper to the back, or wrong side. Center your eye or eyes and leave 1 1/4" between the bottom of the eyes and the top of the arch. |
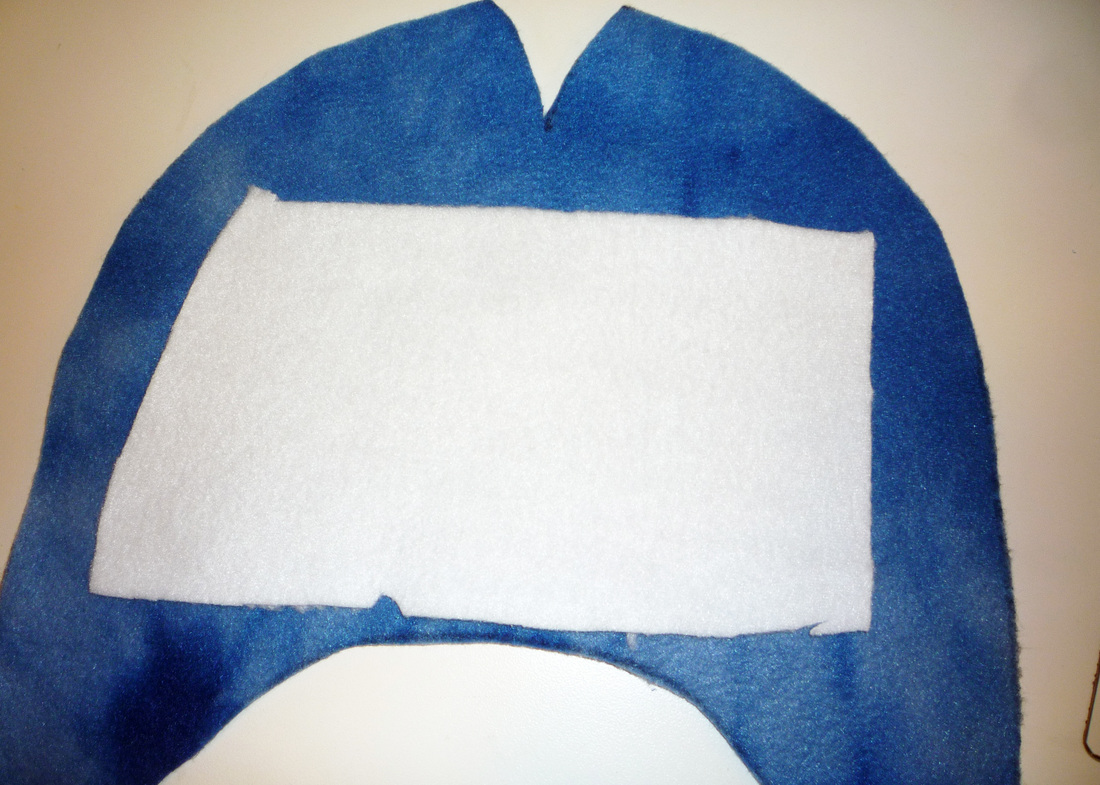 3. Place a piece of white fleece (cut it much larger than your eyes to give yourself plenty of room) on the front, or right side of the same piece and pin it in place. | 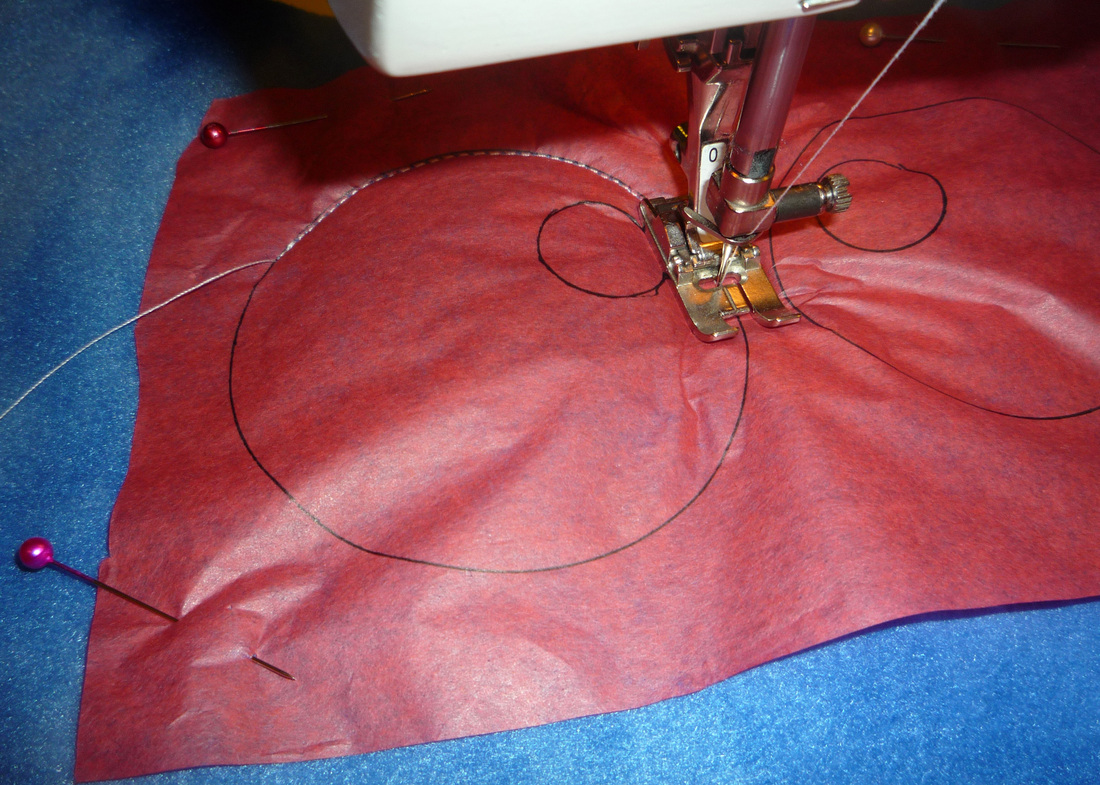 4. Flip it back to the wrong side and, using white thread, stitch around each of the large circles that will make the eyes. |
 5. On the right side you can now cut of the excess fleece around the eye. You can cut quite close to the stitching line as fleece does not fray-just don't cut any of your stiches :) | 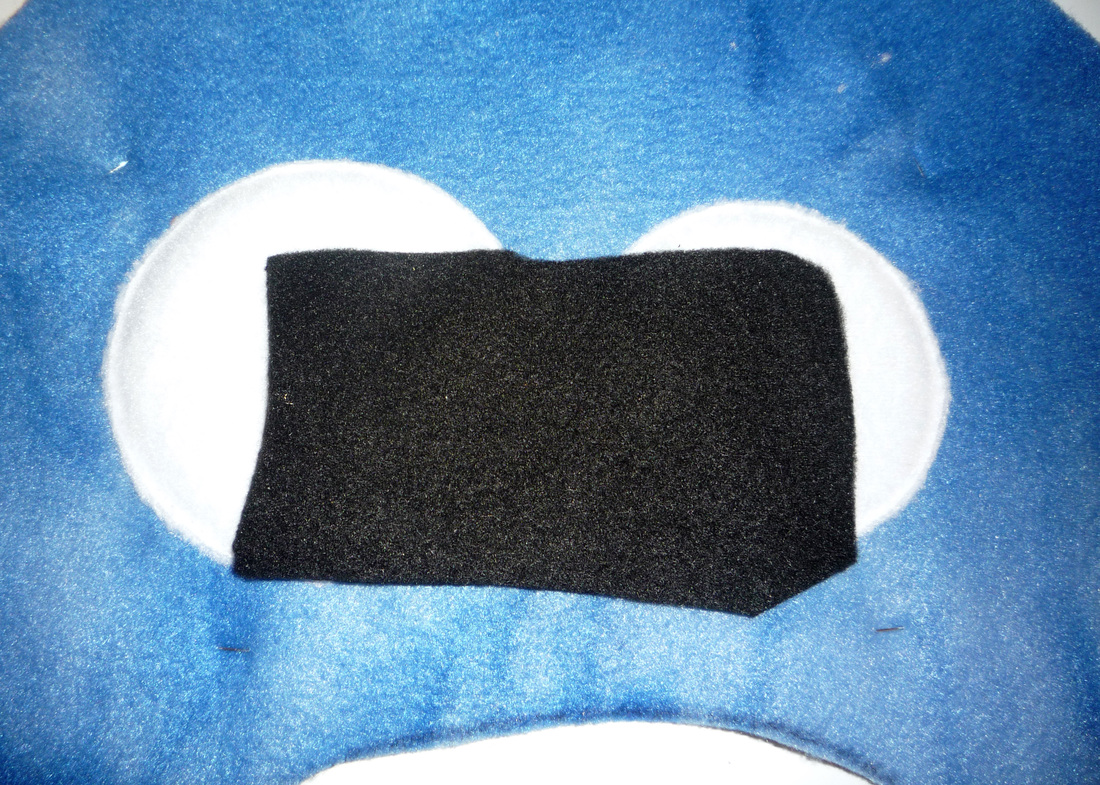 6. Place a piece of black fleece down over your white eyes on the right side and pin in place. |
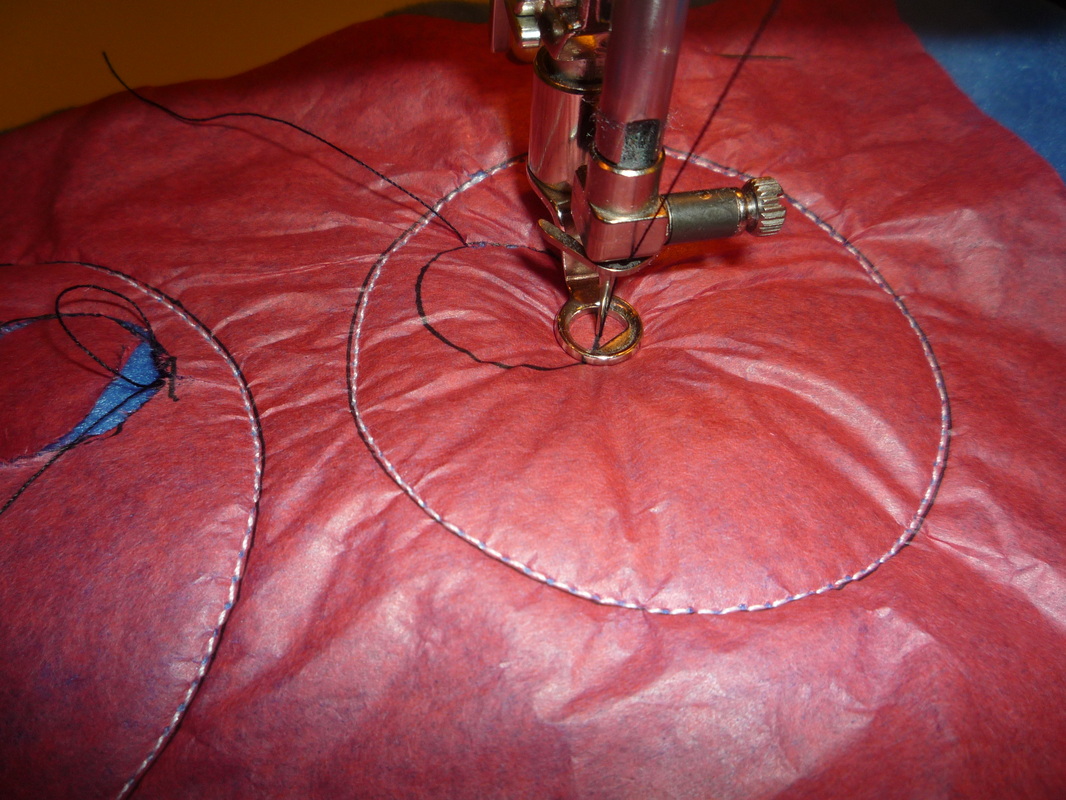 7. Flip it to the wrong side and, using black thread, stitch around the circles that make the pupils. | 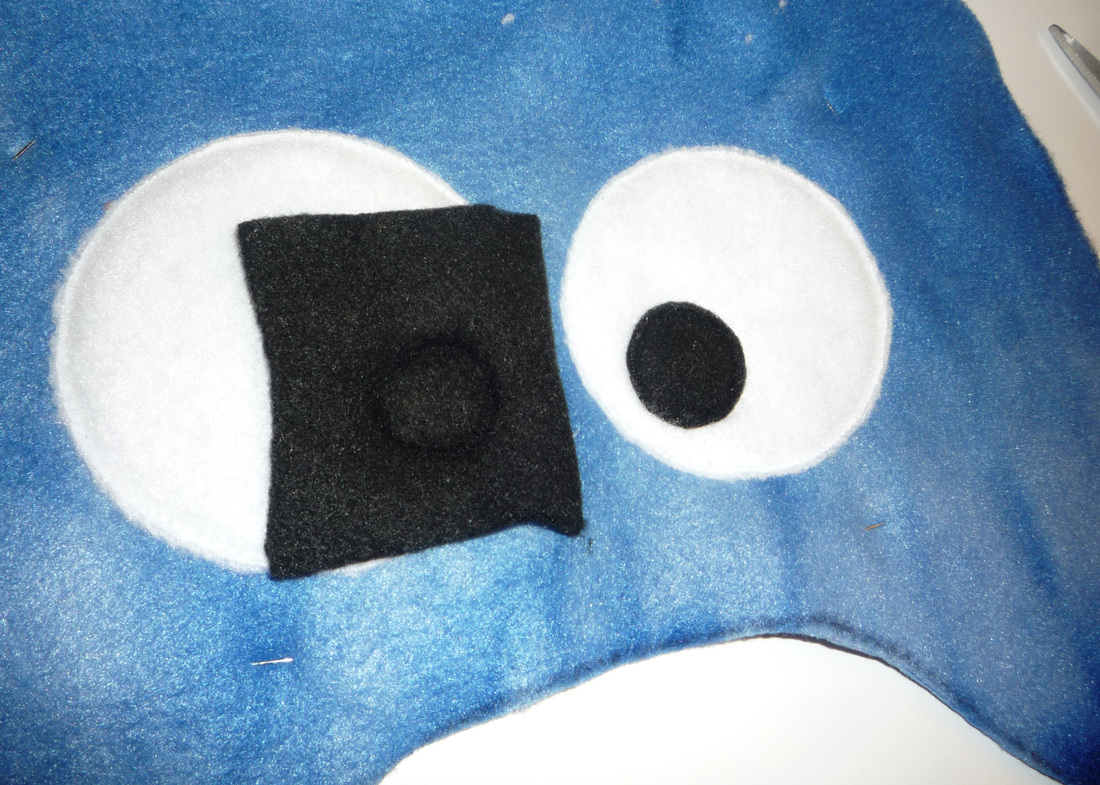 8. Flip it back to the right side and trim your black fleece like you did the white. |
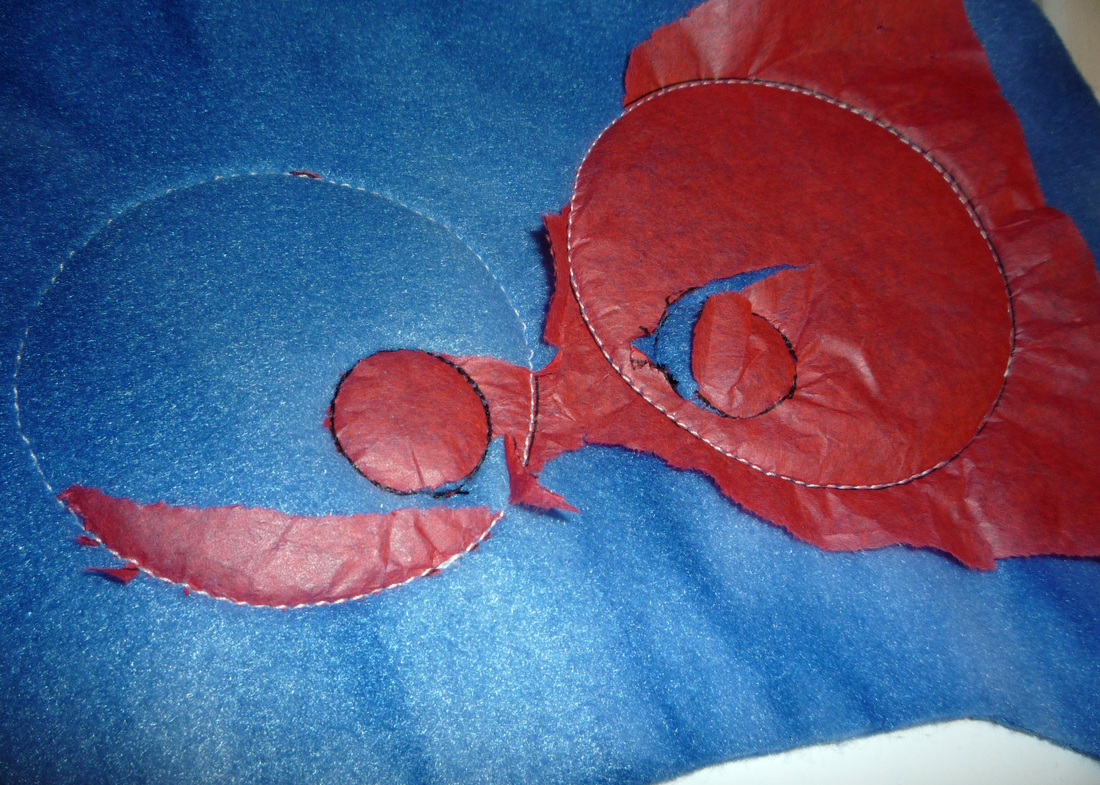
9. Now that your eyes are stitched on so nicely, you can rip the tissue paper right off the back and toss it! I originally learned this fleece applique technique from my sister-in-law Care. She has a great tutorial with some good tips on her blog at http://obsessivelystitching.blogspot.com/2009/10/fleece-applique-technique.html if you want to check it out (While your there you have to check out all the things she has made with this technique-especially the Angry Birds! Amazingly awesome!)
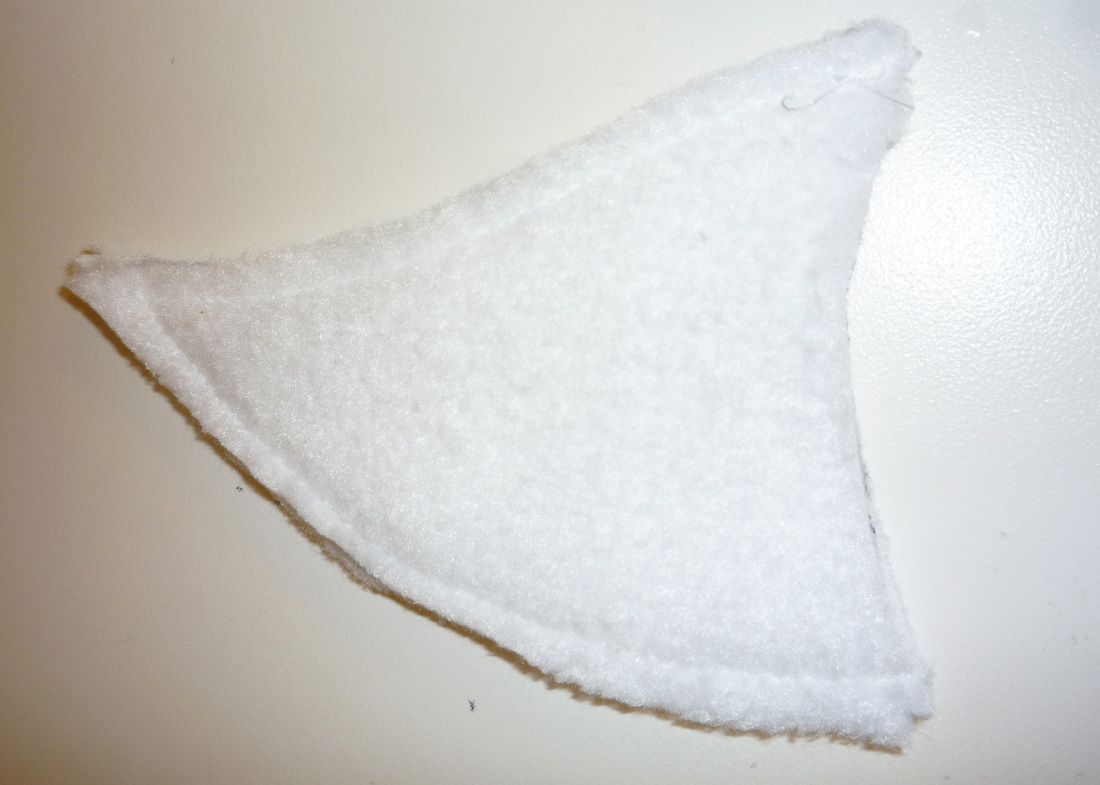 10. Cut out 4 horn pieces from your white fleece. With right sides together, stitch both sides using a 1/4" seam allowance. Leave the bottom open. Trim the tip close to the stitching. | 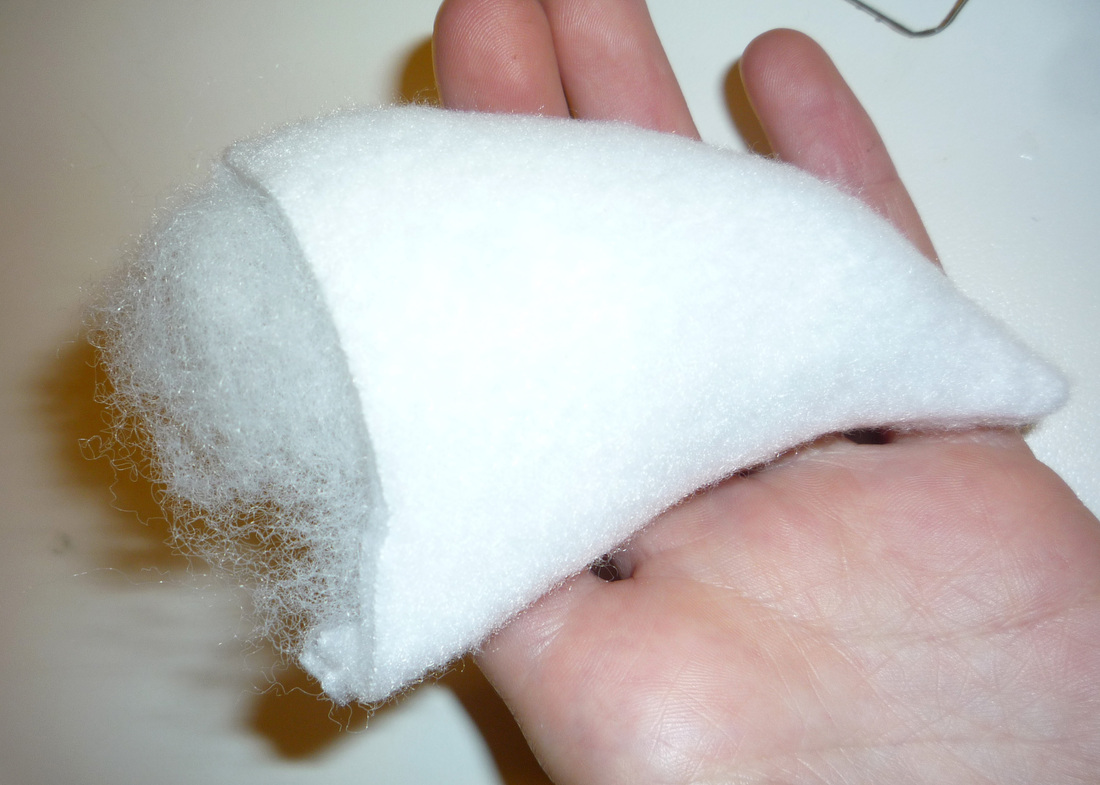 11. Turn your horn right side out and stuff it with some fiber-fill. It doesn't take much, you just want to give your horn some shape and structure. |
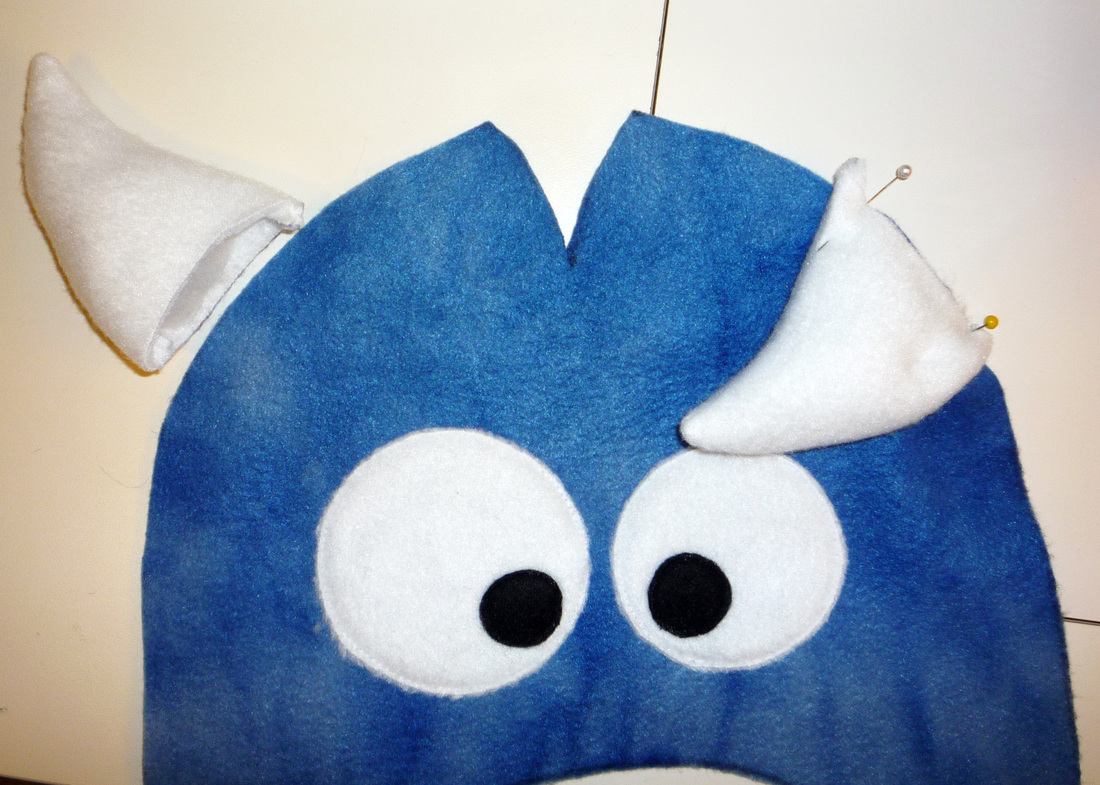 12. Decide where you want your horn and which way you would like it to point. Once you have chosen, flip it down and pin it in place. | 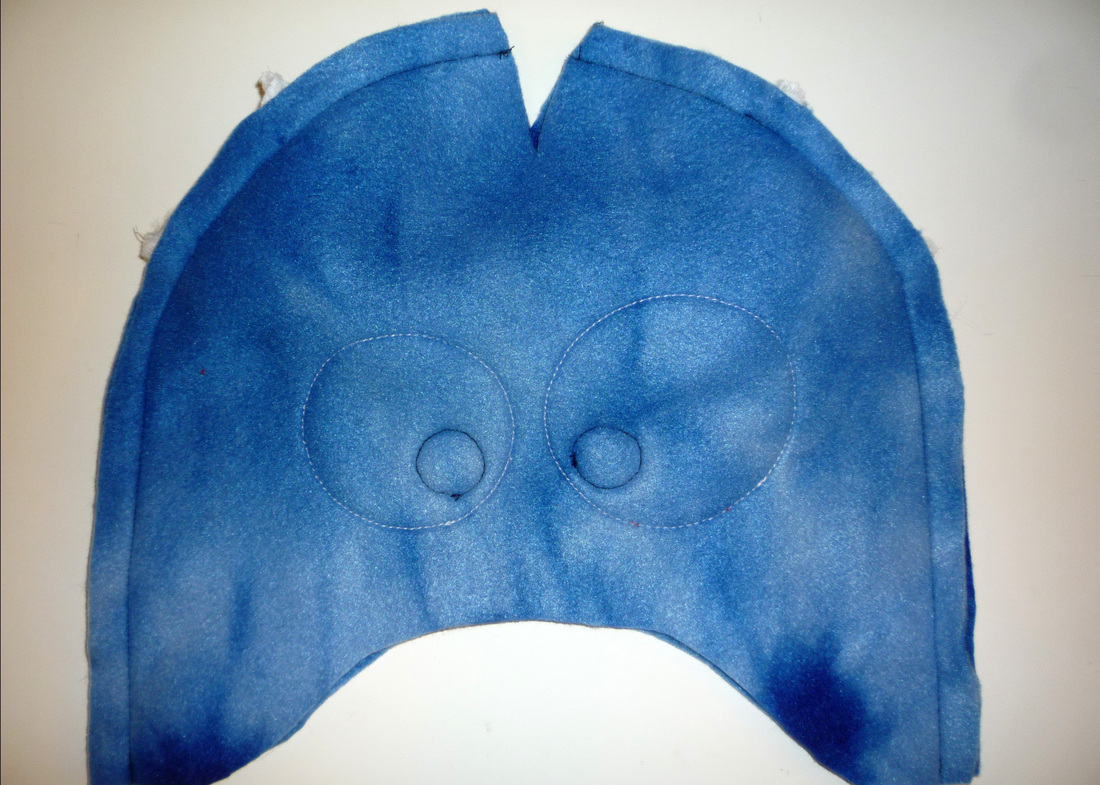 13. With right sides together, and the horns sandwiched in between, stitch your main hat pieces together along the long sides using a 1/2" seam allowance. Do not sew in the "V" and make sure you do some extra backstitching on the horns to help them stay in place later when they get pulled on! |
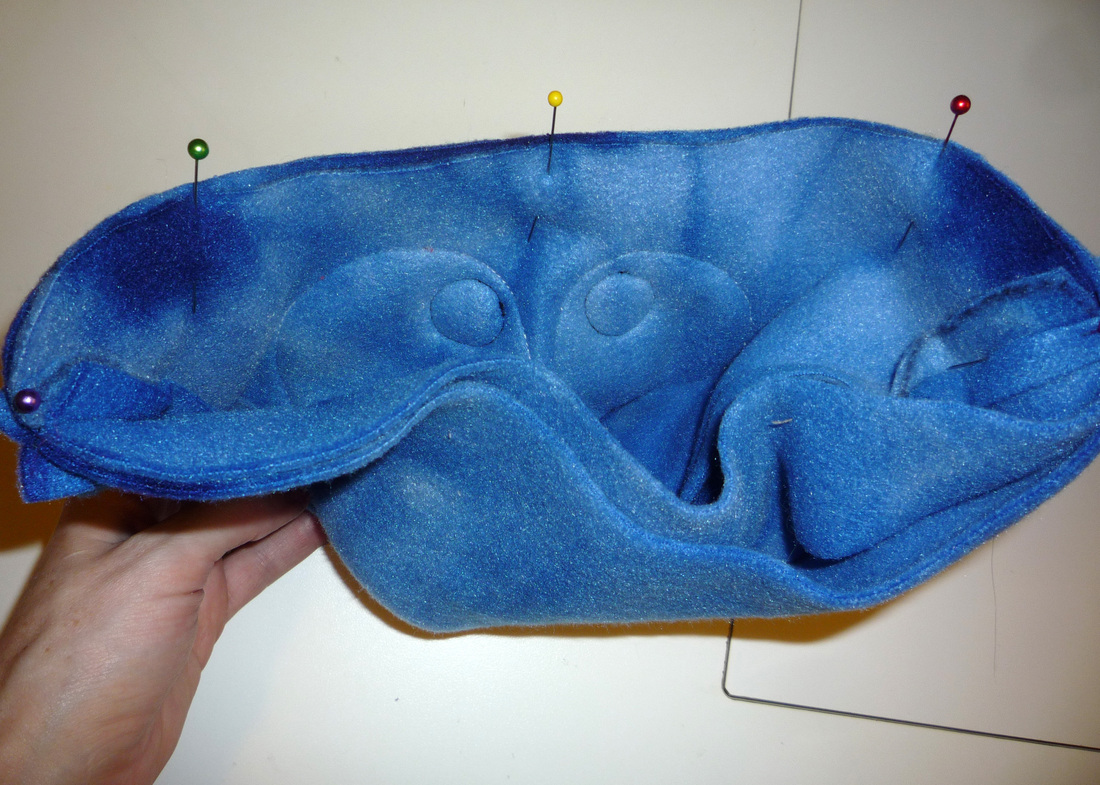
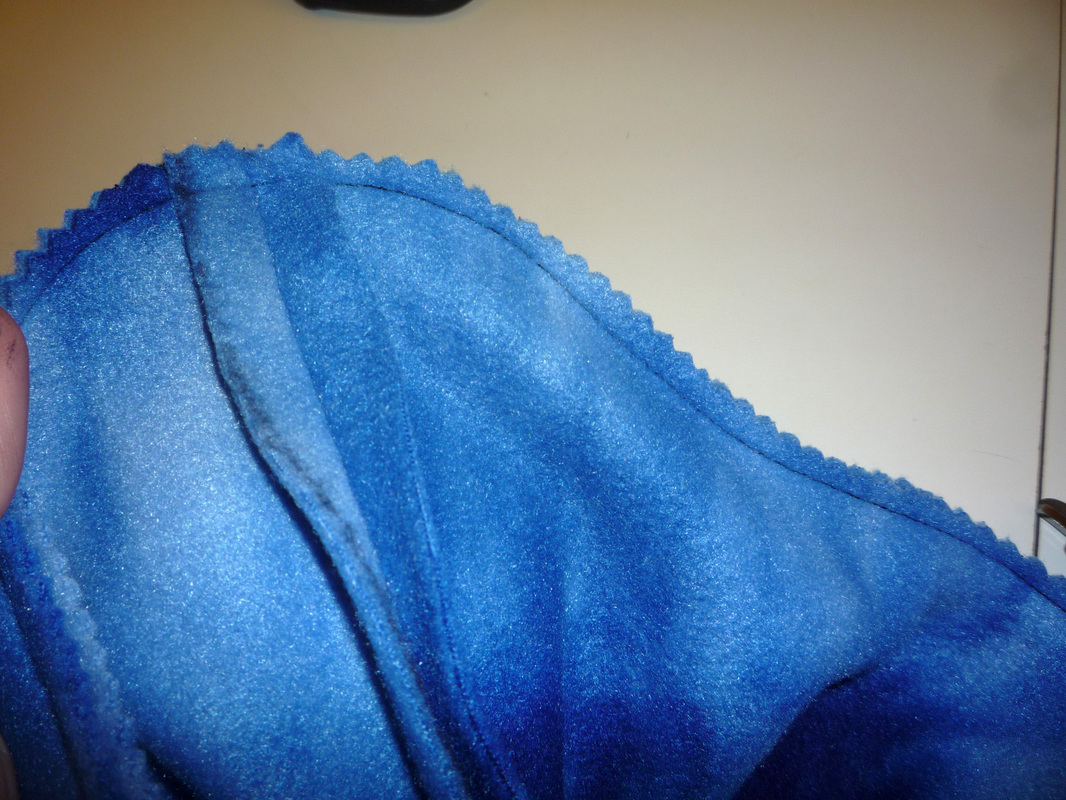
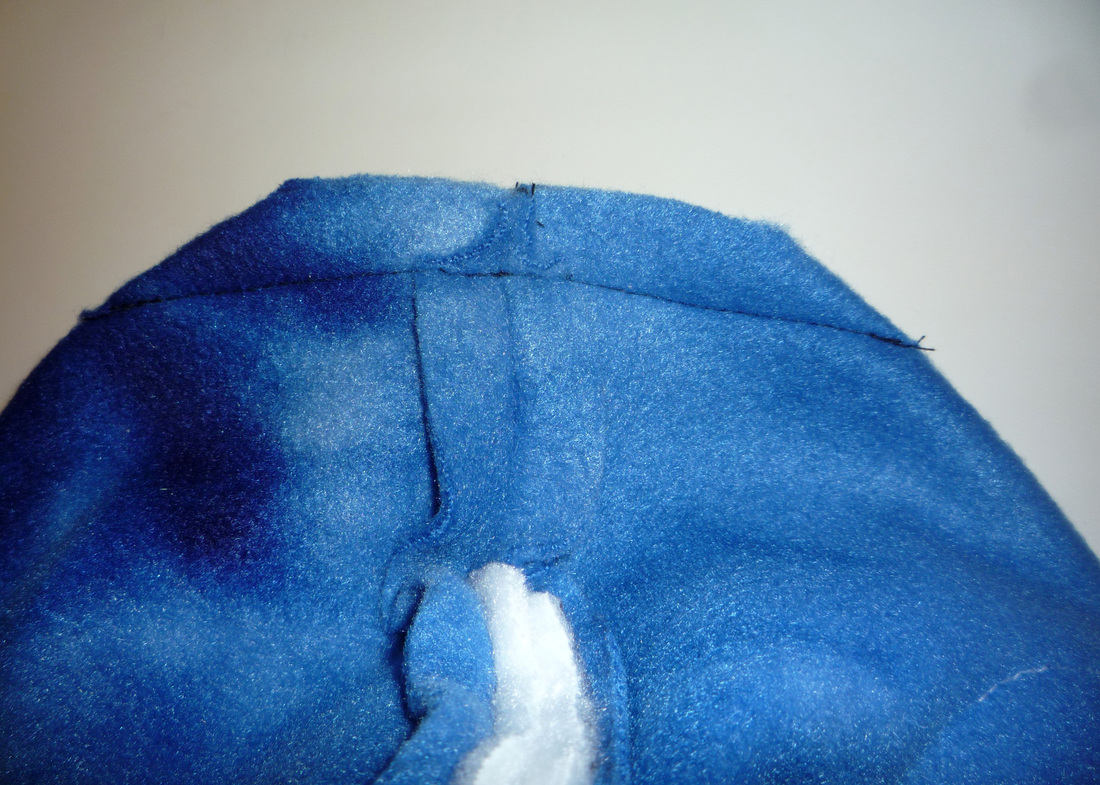 14. Now, with right sides together, pin the V closed, matching your seamlines from your long seams and sew it using a 1/2" seam allowance. If you turn it right side out it should now look like a hat! | 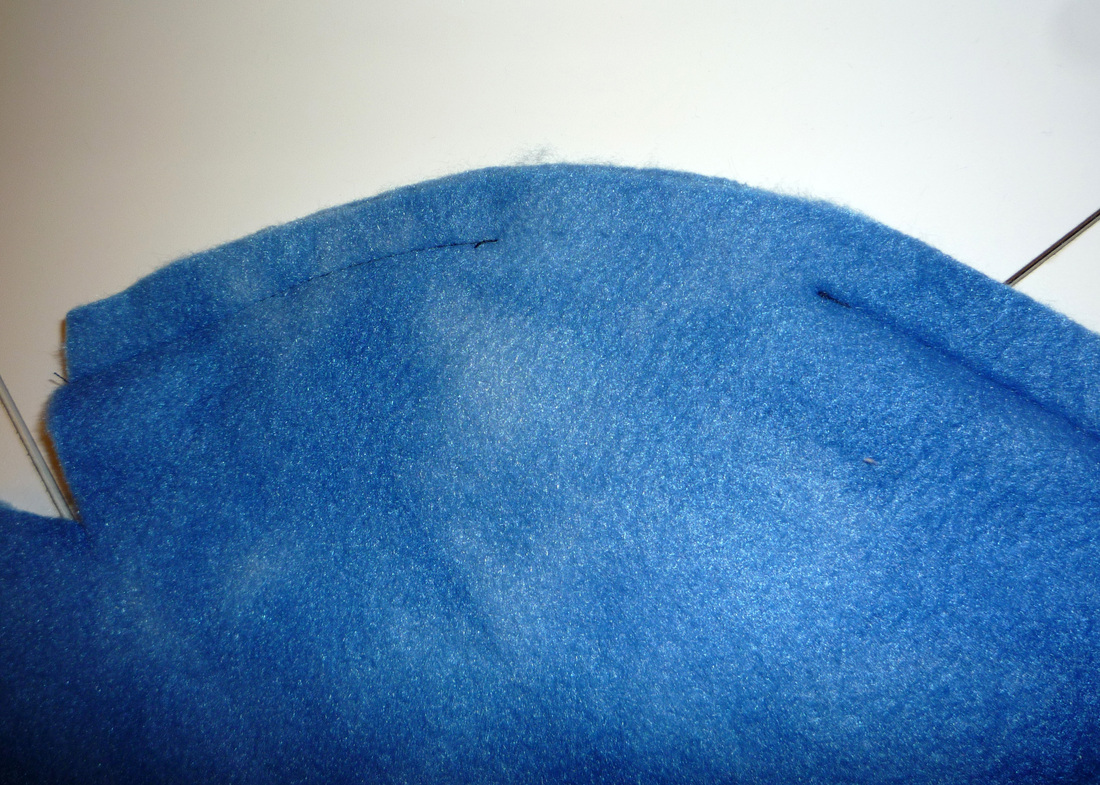 15. Take your two lining pieces and stitch them, right sides together, like you did with the main pieces above. Use a 5/8" seam allowance this time (this helps keep it from being bulky inside when you are done). On one of the long sides, leave about a 1 1/2" gap in your stitching. After it is stitched, trim the seams (I like to use my pinking shears) to reduce bulk. You should now have what looks like two hats! |
16. With right sides together, pin your main piece to the lining along the bottom edge. Seams should be pinned open and match on the sides. Stitch with 1/2" seam allowance.
 17. Trim and clip curves (or use pinking shears as I did) close to your seam allowance all the way around the bottom. | 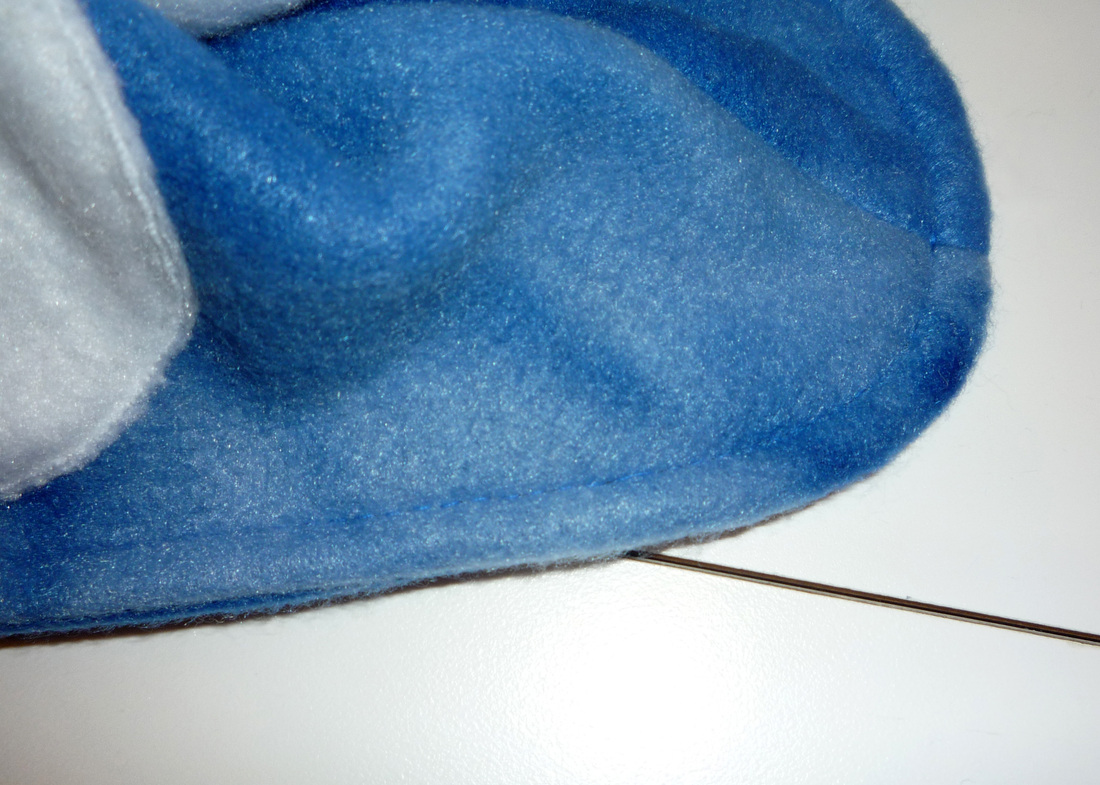 18. Using the gap you left in the lining, turn your hat right side out. Tuck the lining into the inside of the hat where it belongs and top stitch 3/8" from the edge all the way around the bottom of the hat. |
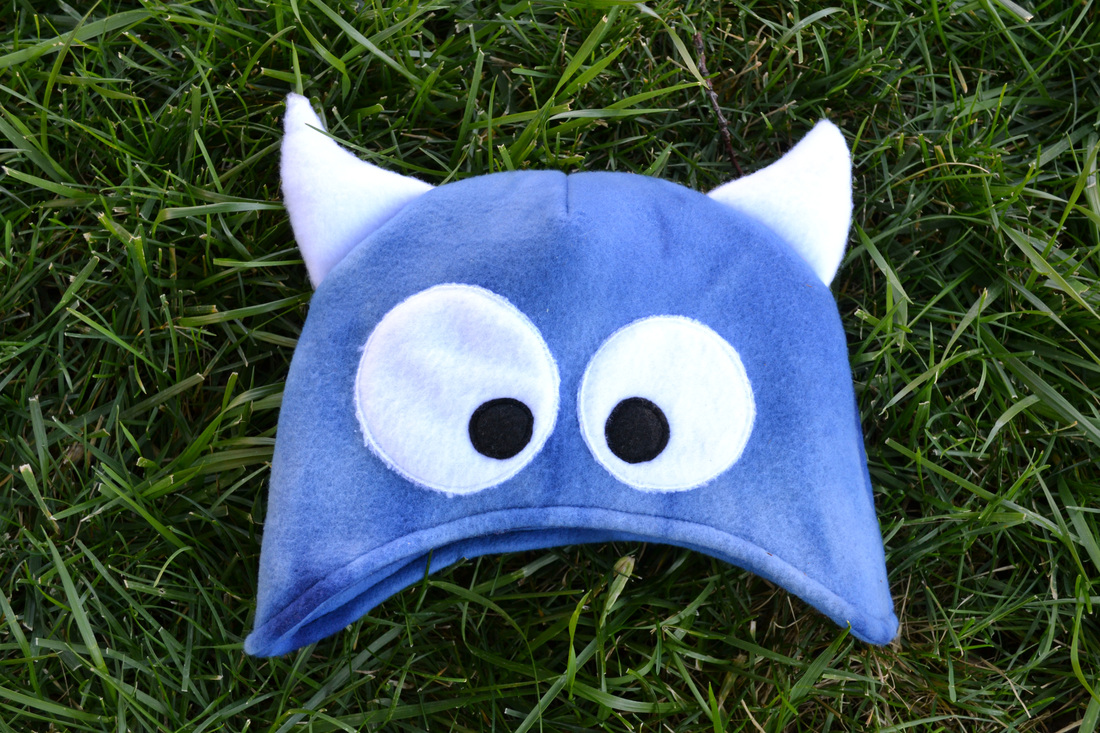
19. Handstitch the gap in the lining closed and you are done! Congrats! Now go try it on your little monster!
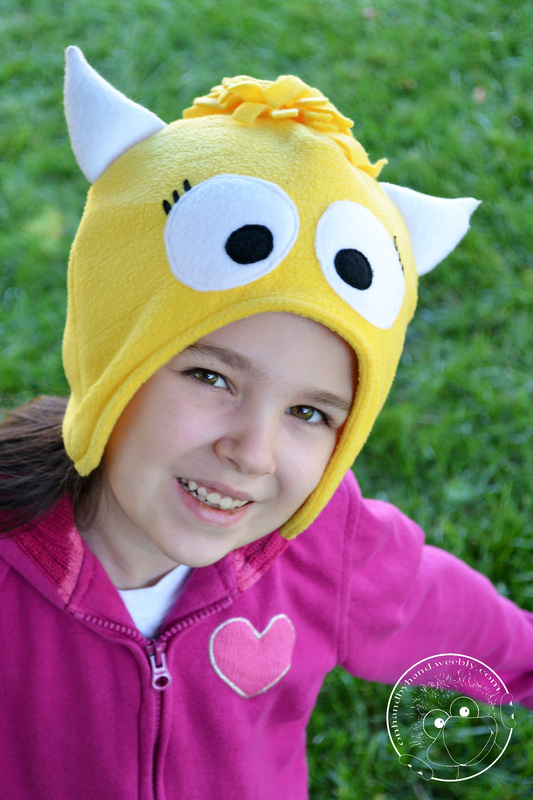 | 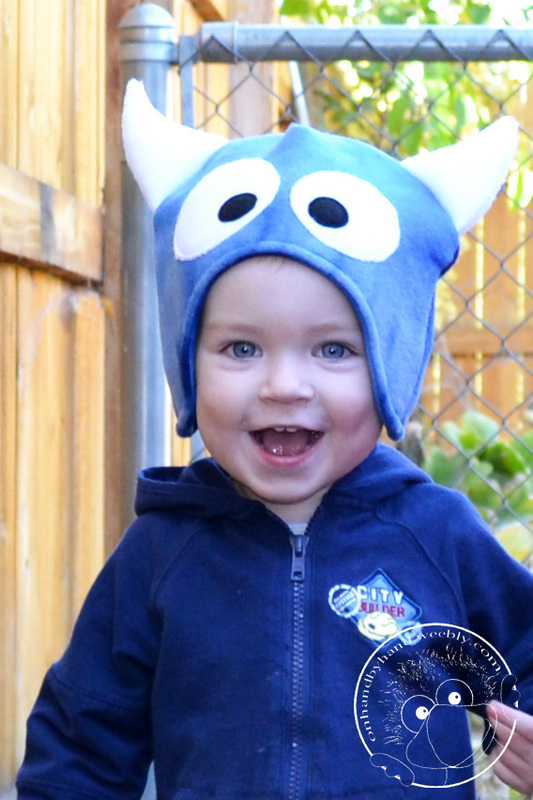 |
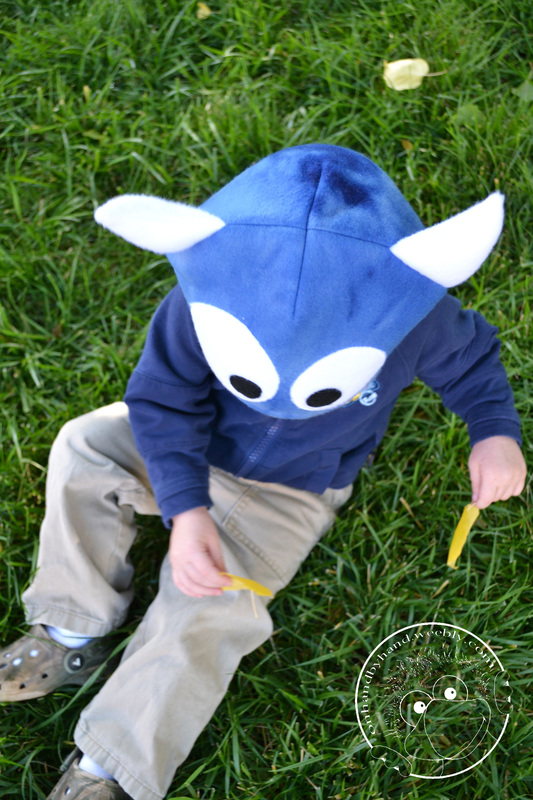
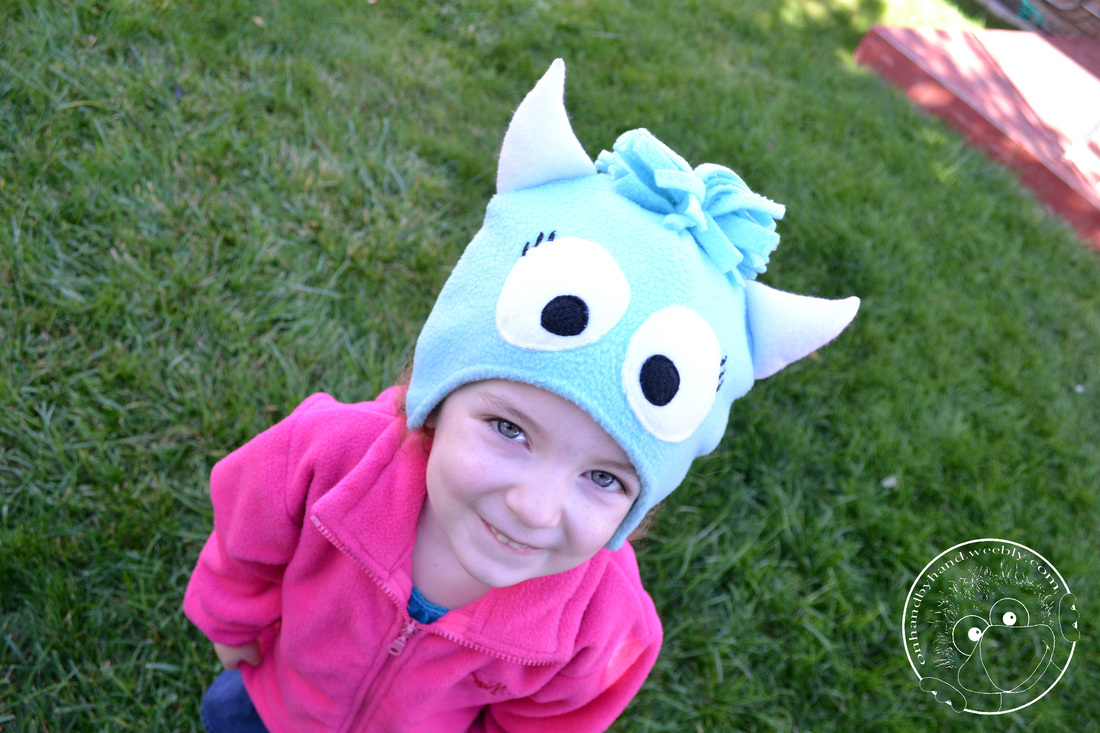
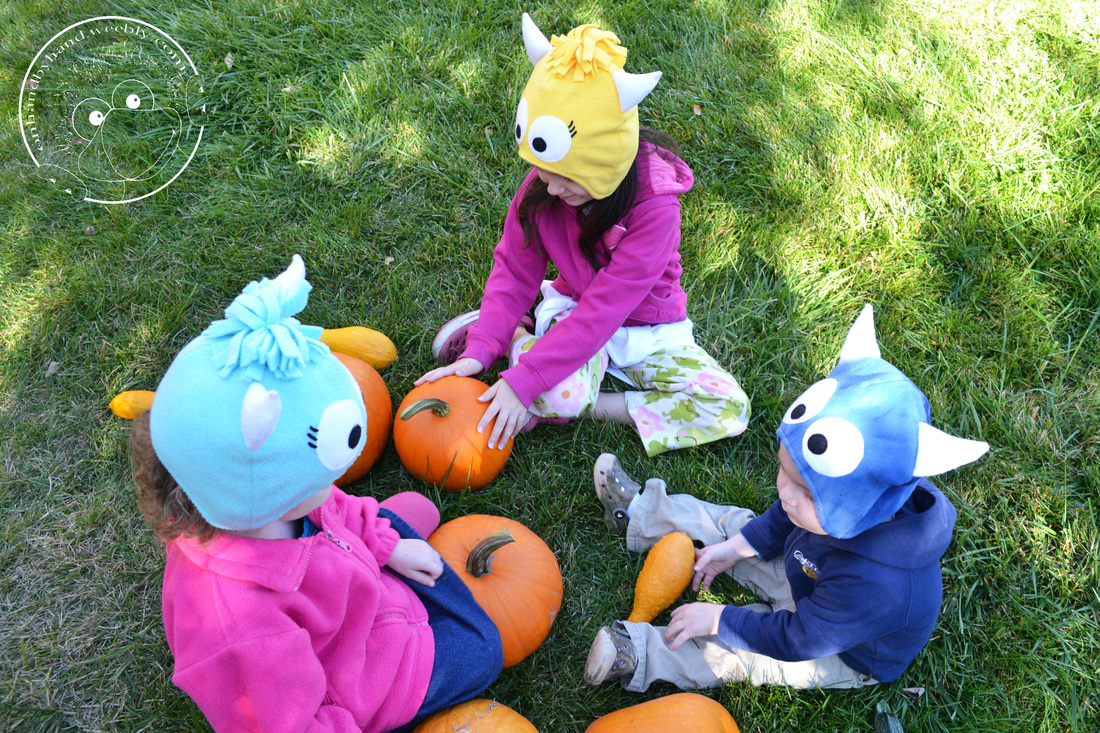
These are my favorite little monsters! Aren't they cute? But I'm not biased at all...
The girl's hats include eyelashes and hair, as requested. According to them, you can't really tell it's a girl monster (or a girl anything!) unless it has eyelashes :) You can see more versions here.
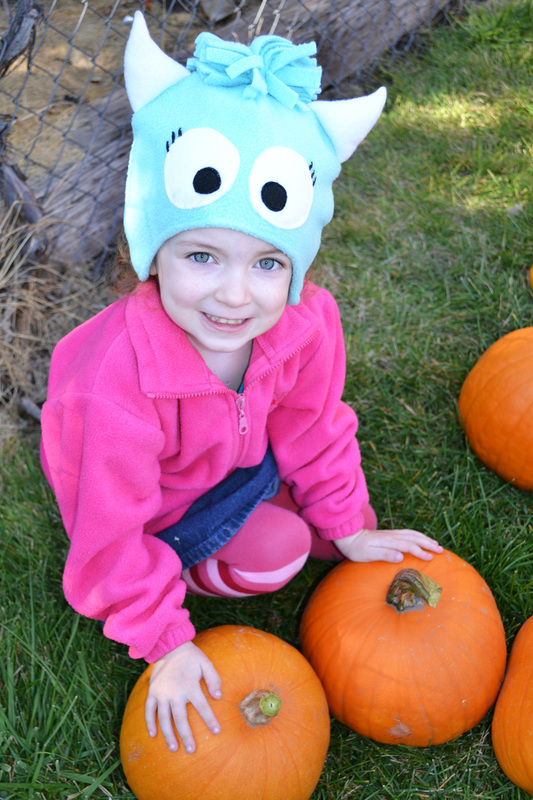 | 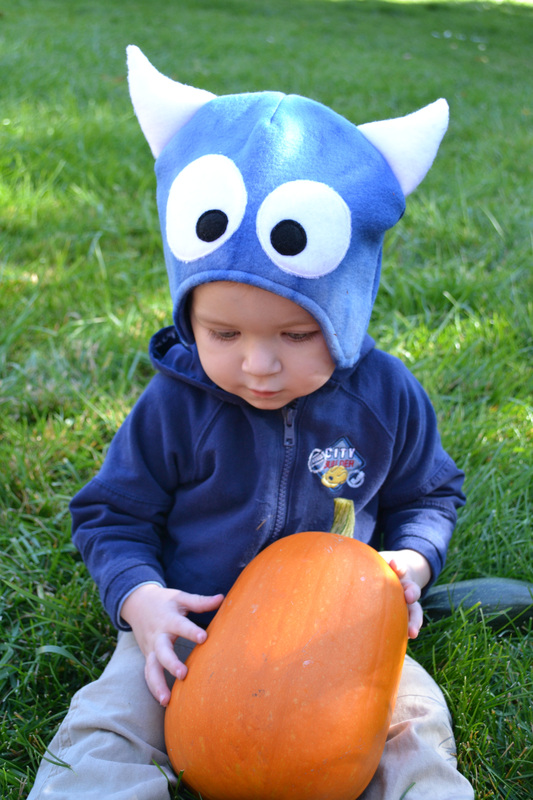 | 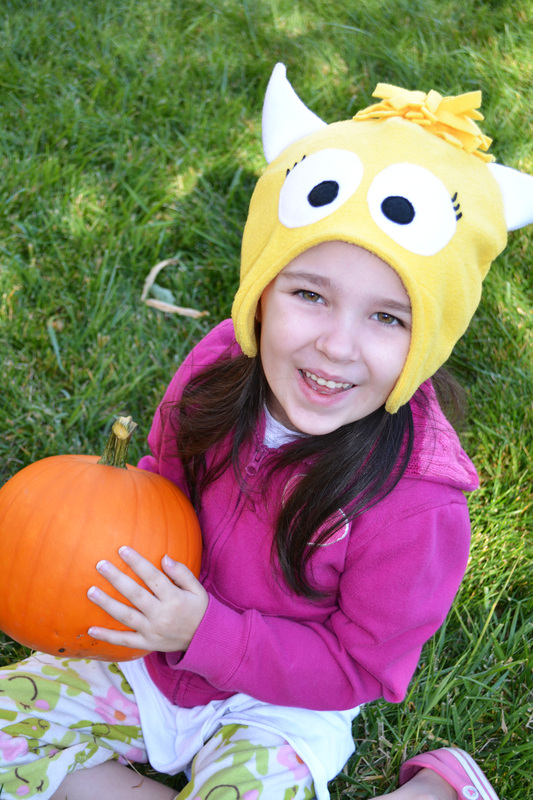 |
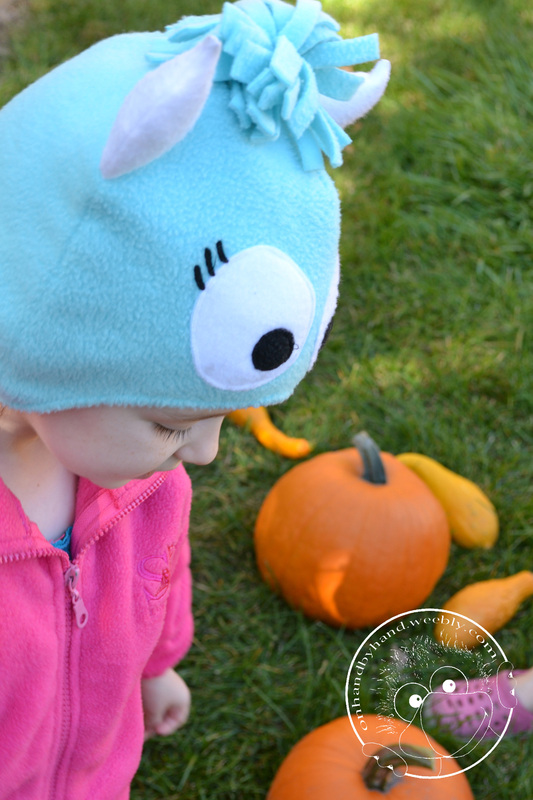
We picked the pumpkins in the garden today as an incentive to smile for some pictures-it worked. I think they are pretty happy, don't you? I know I was :)
I hope you have as much fun with these hats as we have had! Happy sewing!

~Susan


 RSS Feed
