On Hand By Hand
  • Home
  • Blog
  • Shop
  • Order Custom Monster Hat
  • Puppet Gallery
  • About Us
  • Contact Us

Fleece Monster Hat- Free Pattern and Tutorial

10/15/2012

25 Comments

 
Picture
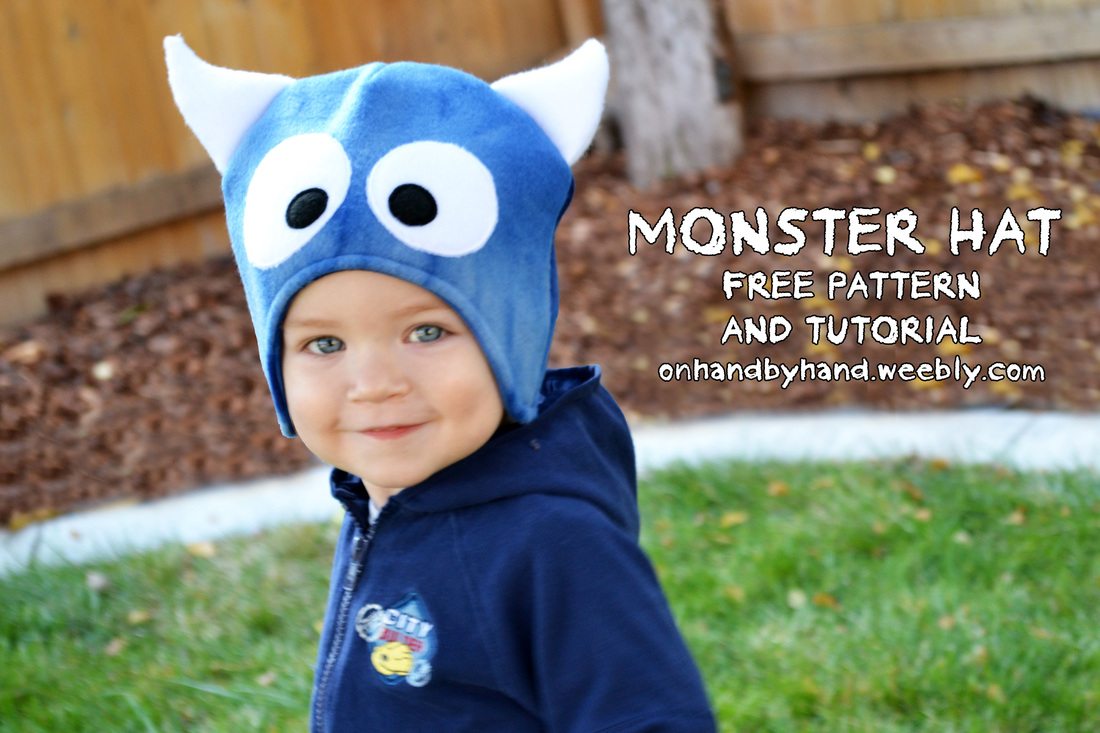
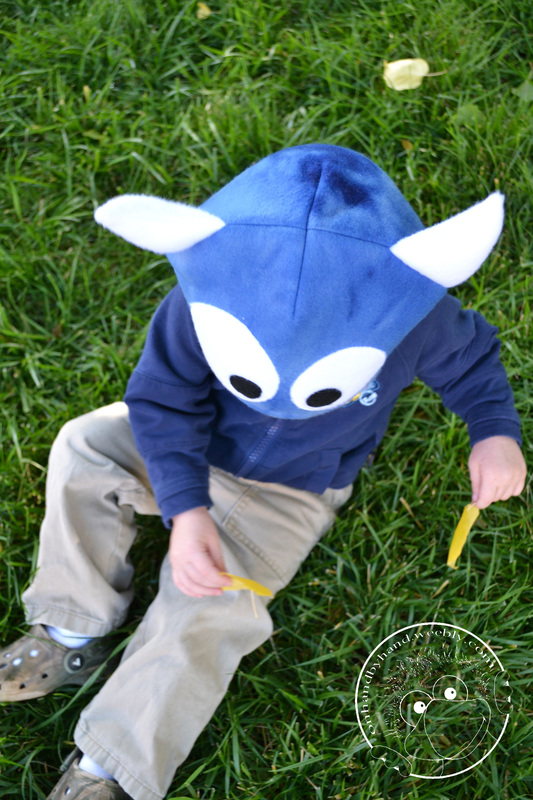
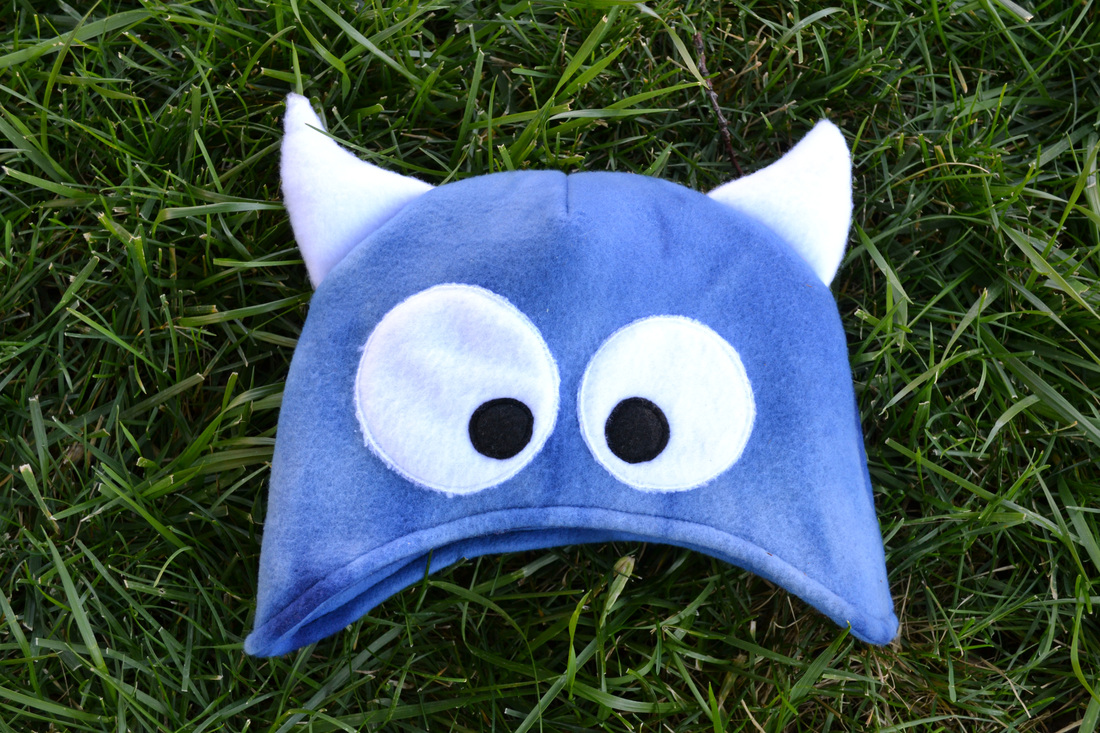
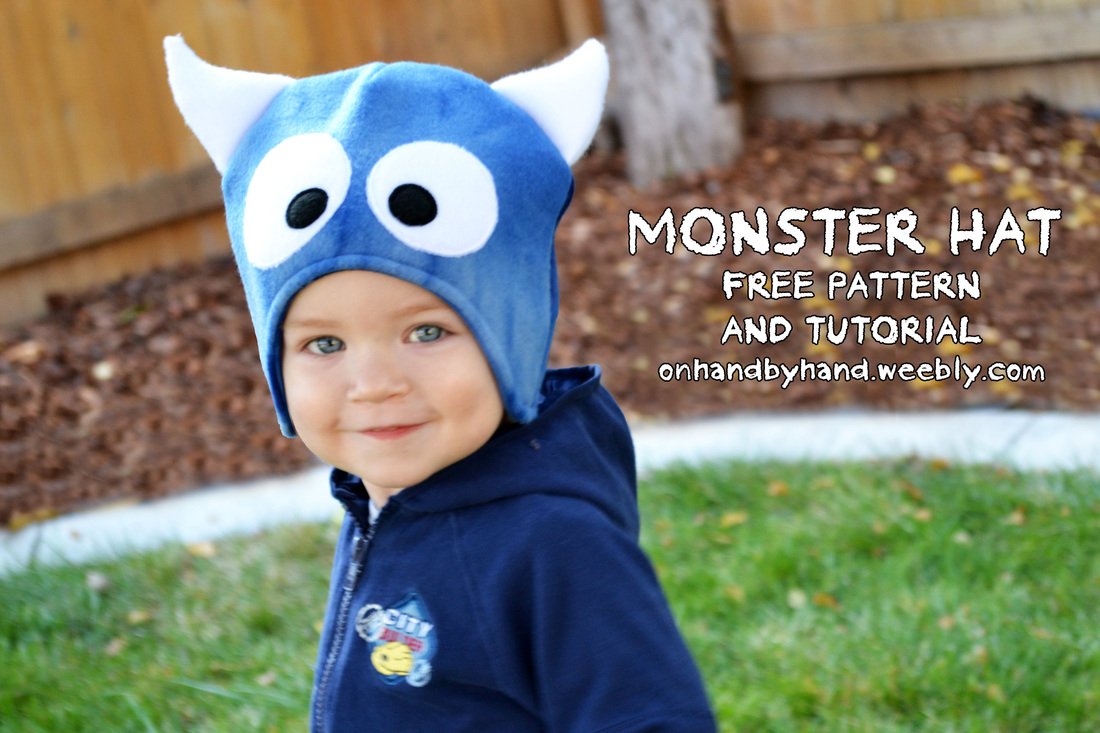
These hats make me smile.  I first started making and selling them over a year ago and my own kids happily kept warm and got the best looks and compliments all winter long while wearing theirs.  So I decided to share the pattern and teach you how to make your own!  They are very simple, so even beginners should be able to handle it.  
(And don't worry, you can still buy them in our etsy shop or order a custom one (including satin lined) here on the website if you don't have the skills or desire to sew one right now!) 
Picture
Supplies Needed:
-1/3 Yard of Fleece in whatever color you want your hat
-1/8 Yard/Scraps of White Fleece for the eyes and horns
-Scraps of Black Fleece for eye pupils
-Thread to match
-Small amount of fiberfill stuffing for the horns
-Tissue Paper
-Pattern (Click below to download.  Make sure to print Actual Size- not to fit)
mhatpattern.pdf
File Size: 2902 kb
File Type: pdf
Download File

This pattern is for personal use only.   You may not repost or resell the pattern.  You may not sell hats made from this pattern.   You may link to this post.  You may print it out and use it to make as many hats as you like to keep or give as gifts!  Please enjoy responsibly :)
Picture
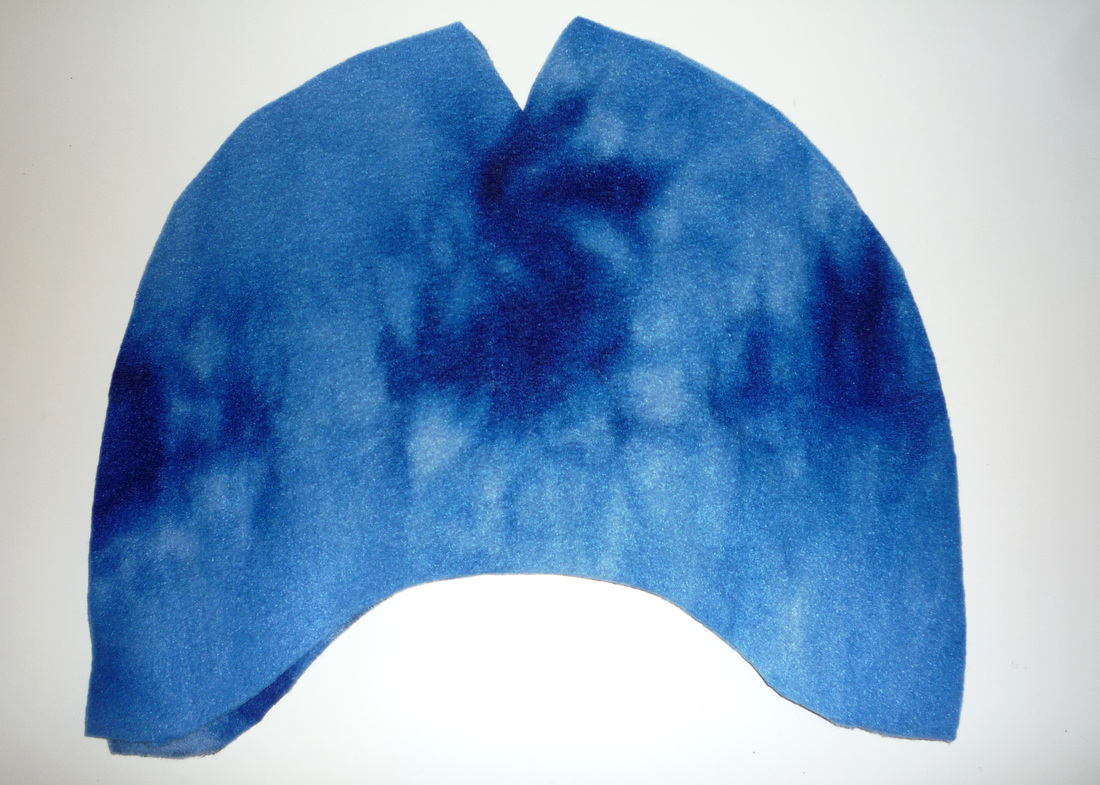
1.  Take the pattern and cut out 4 pieces from your main fabric.  I used a fun blue tie-dye fleece for my little dude's hat.  Two are your main fabric pieces and two are for the lining. Make sure the direction the fleece stretches goes from side to side on the hat, rather than up and down, before you cut it out.
Picture
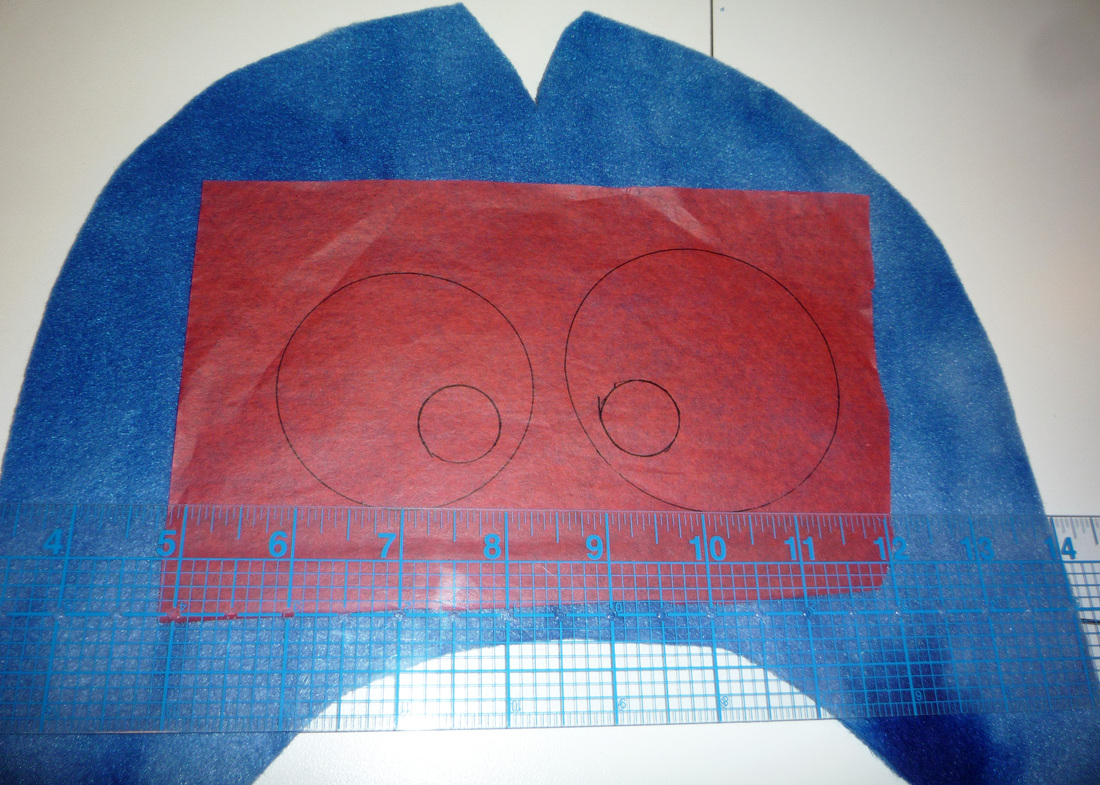
2.  Trace your eyes onto a piece of tissue paper.  Take one of the main fleece pieces and pin the tissue paper to the back, or wrong side.  Center your eye or eyes and leave 1 1/4" between the bottom of the eyes and the top of the arch.
Picture
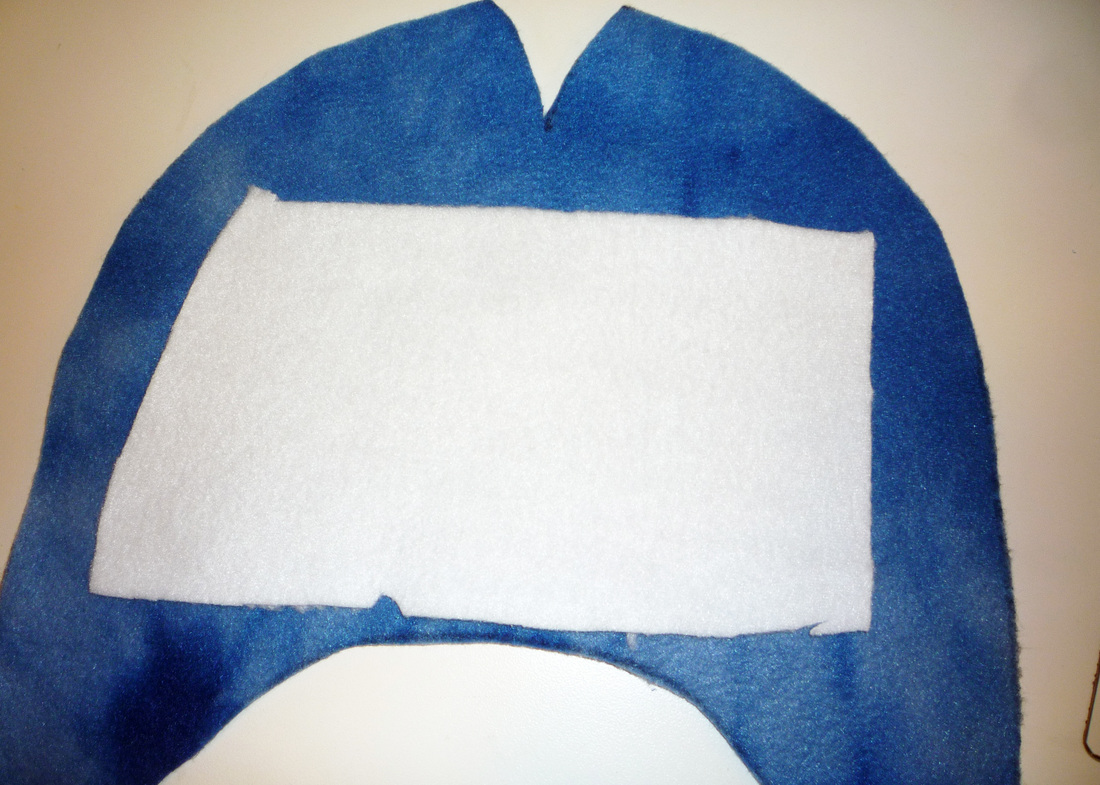
3.  Place a piece of white fleece (cut it much larger than your eyes to give yourself plenty of room) on the front, or right side of the same piece and pin it in place.
Picture
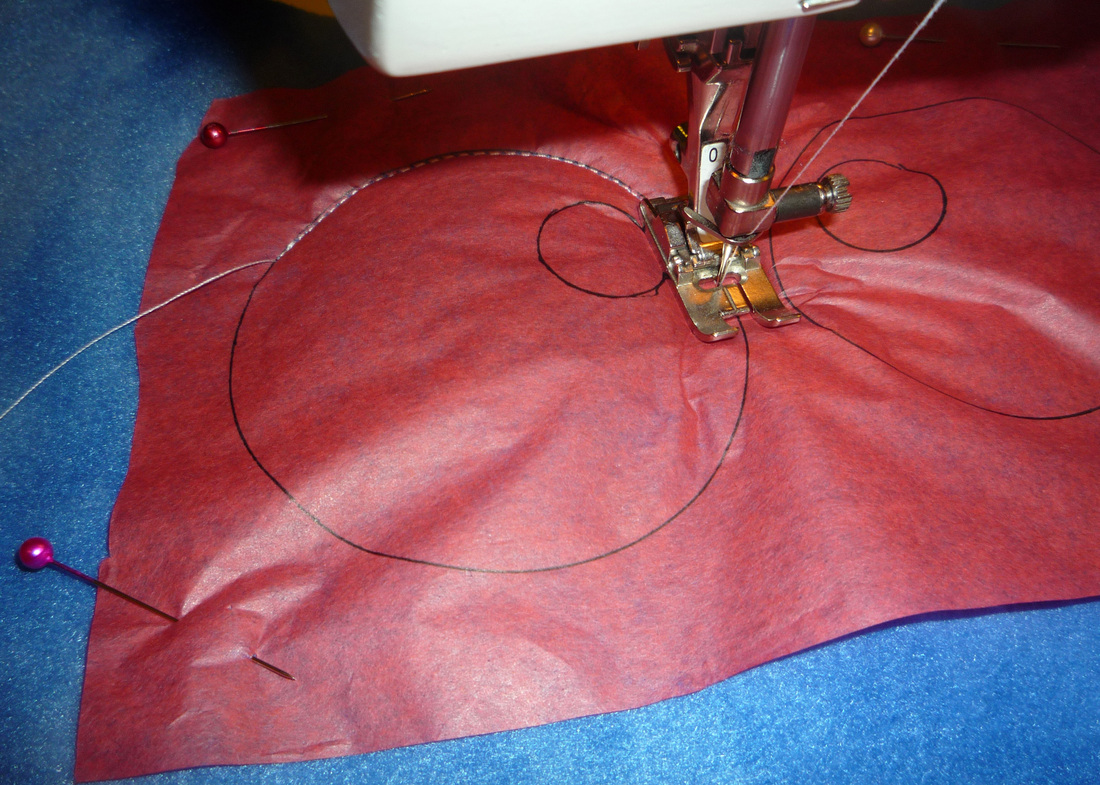
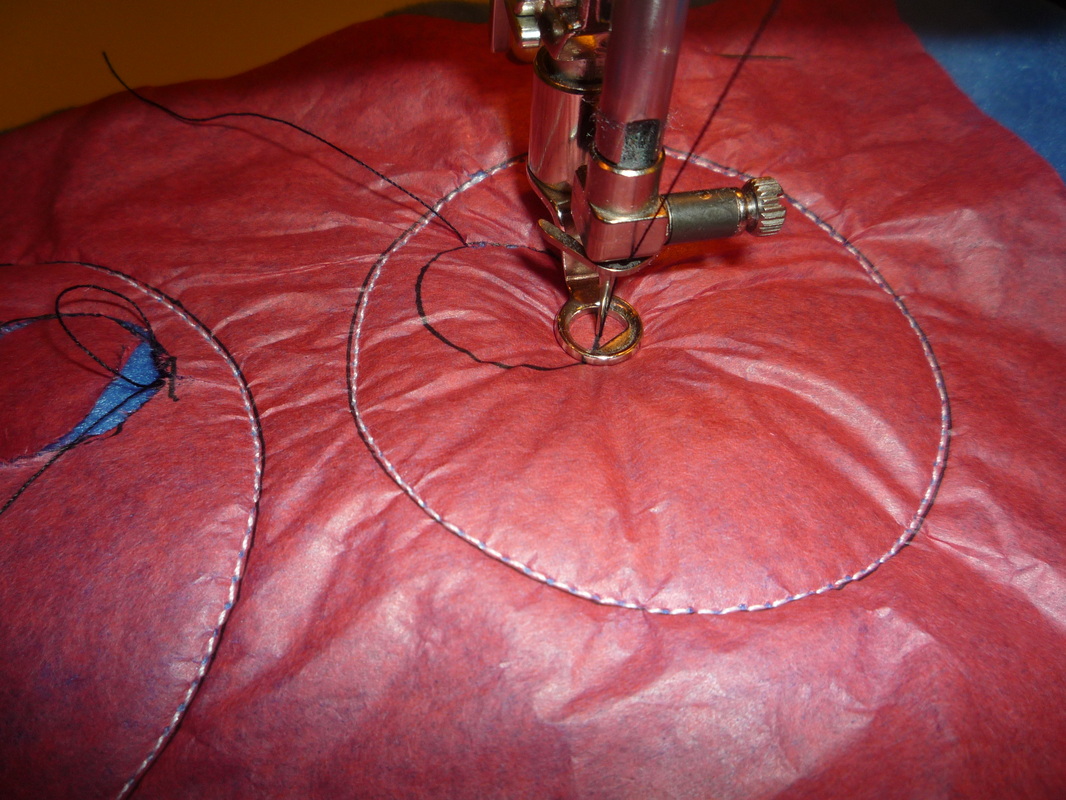
4.  Flip it back to the wrong side and, using white thread, stitch around each of the large circles that will make the eyes.
Picture
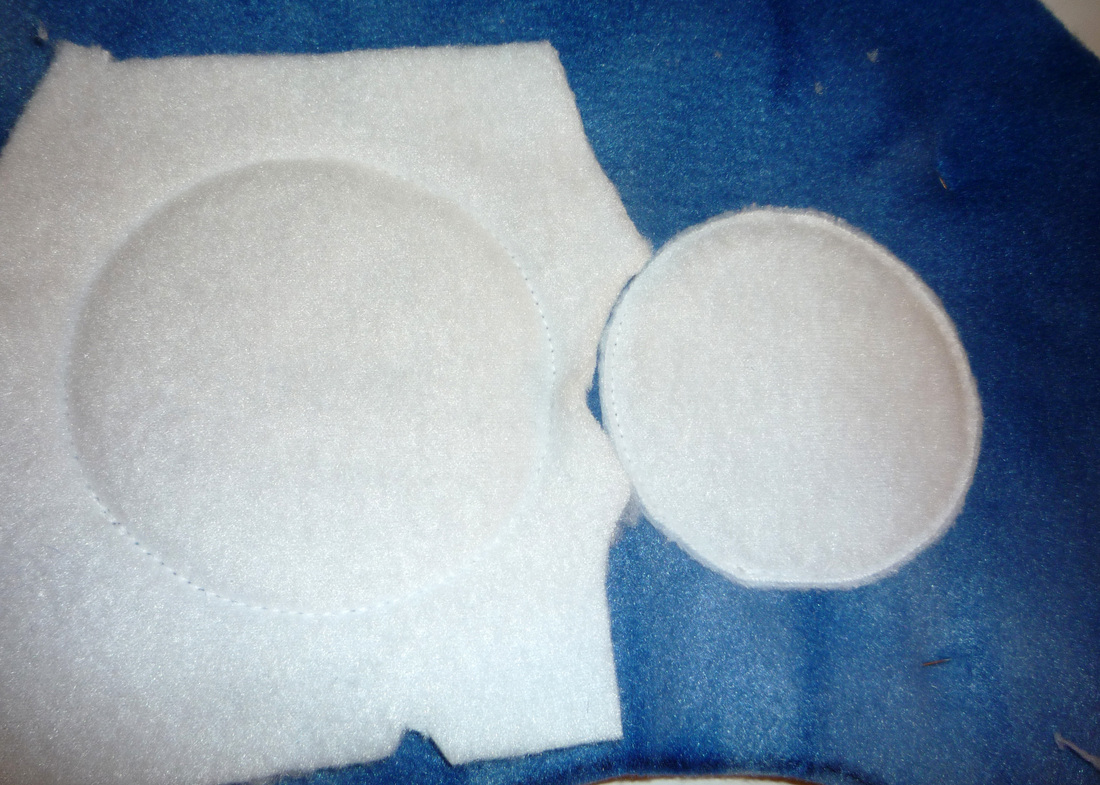
5.  On the right side you can now cut of the excess fleece around the eye.  You can cut quite close to the stitching line as fleece does not fray-just don't cut any of your stiches :)
Picture
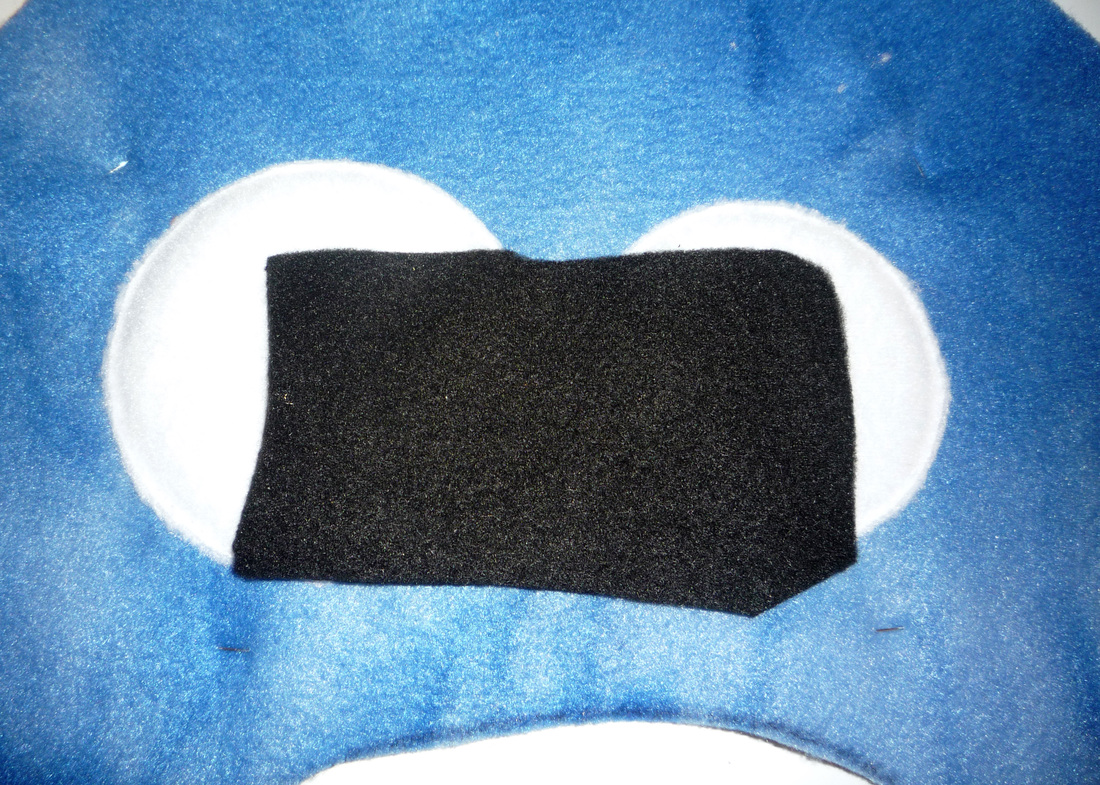
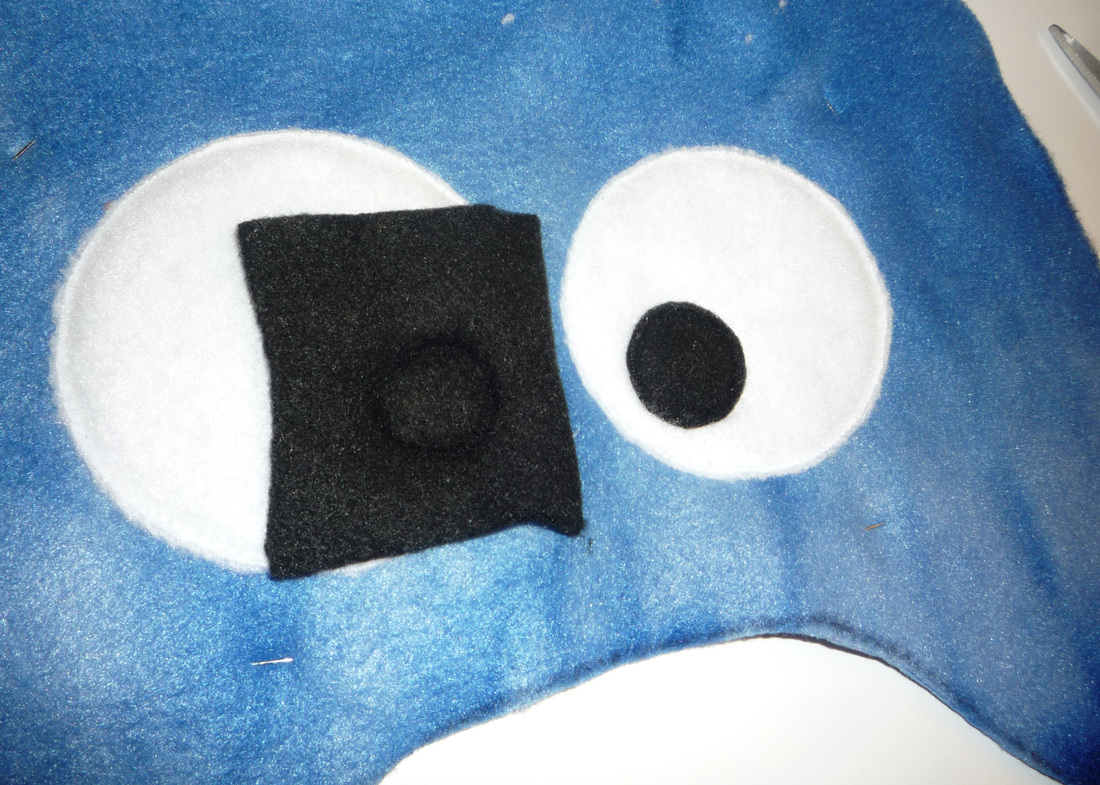
6.  Place a piece of black fleece down over your white eyes on the right side and pin in place.
Picture
7.  Flip it to the wrong side and, using black thread, stitch around the circles that make the pupils.
Picture
8.  Flip it back to the right side and trim your black fleece like you did the white. 
Picture
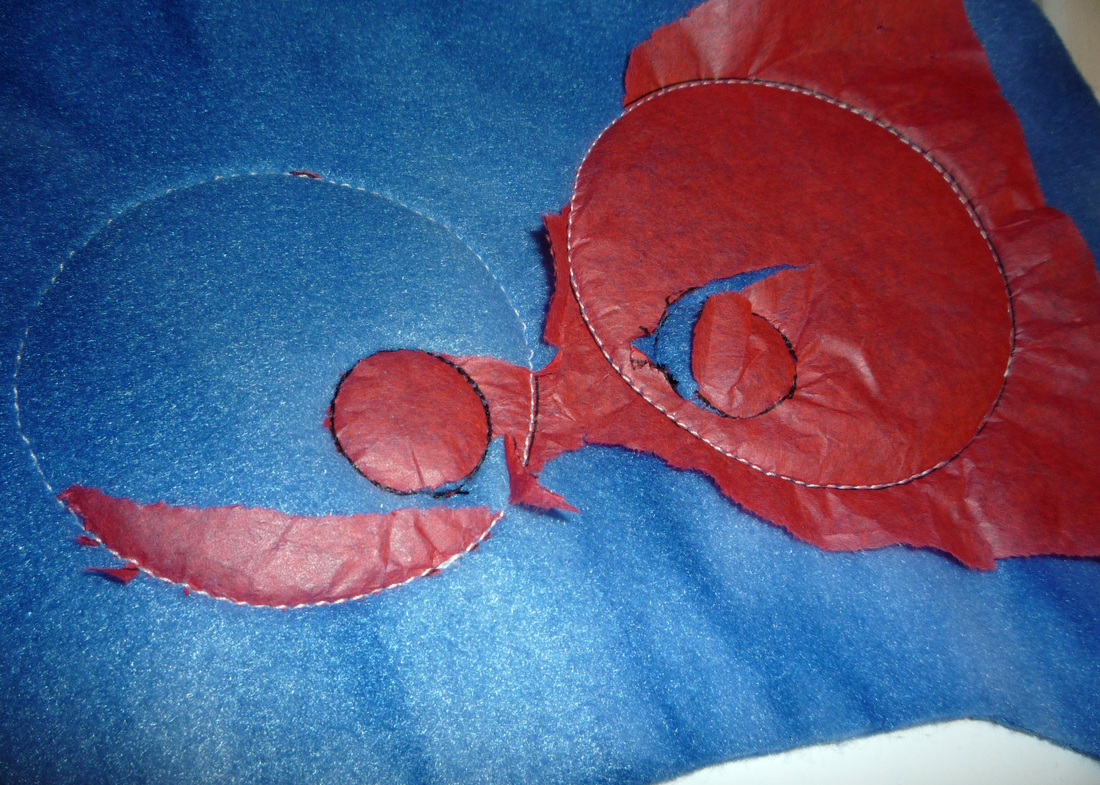
9.  Now that your eyes are stitched on so nicely, you can rip the tissue paper right off the back and toss it!  I originally learned this fleece applique technique from my sister-in-law Care.  She has a great tutorial with some good tips on her blog at http://obsessivelystitching.blogspot.com/2009/10/fleece-applique-technique.html if you want to check it out (While your there you have to check out all the things she has made with this technique-especially the Angry Birds!  Amazingly awesome!)
Picture
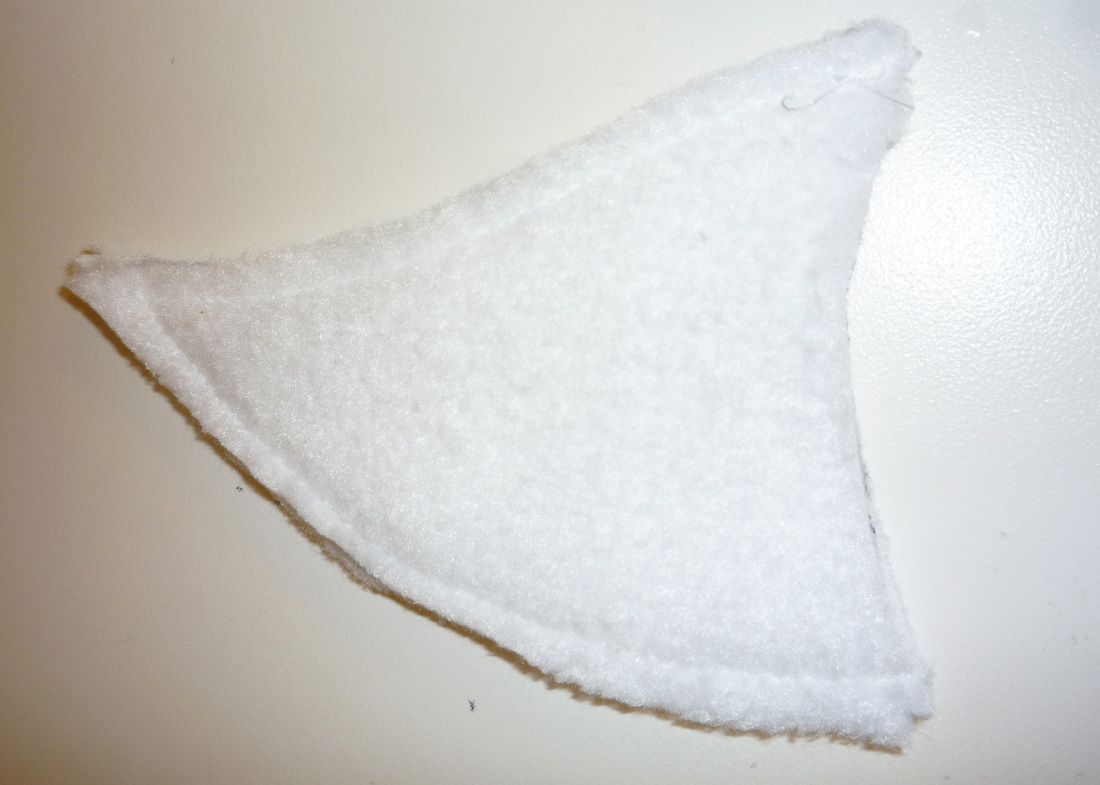
10.  Cut out 4 horn pieces from your white fleece.  With right sides together, stitch both sides using a 1/4" seam allowance.  Leave the bottom open. Trim the tip close to the stitching.
Picture
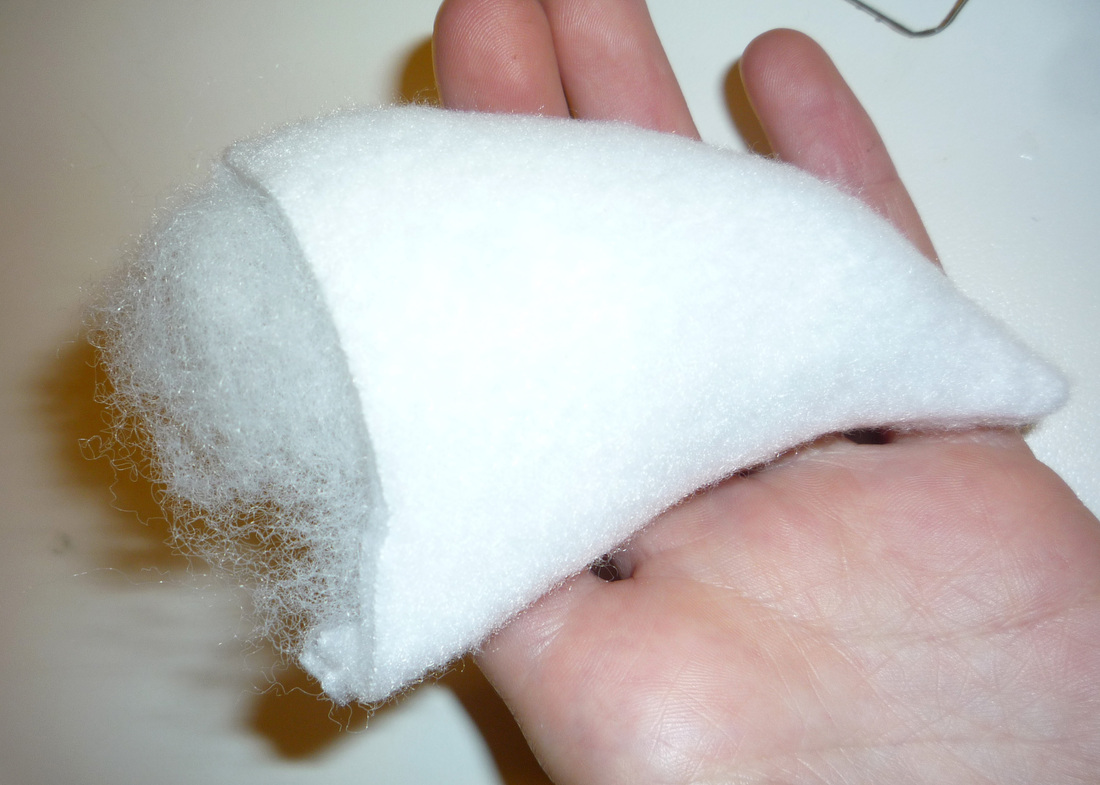
11.  Turn your horn right side out and stuff it with some fiber-fill.  It doesn't take much, you just want to give your horn some shape and structure.
Picture
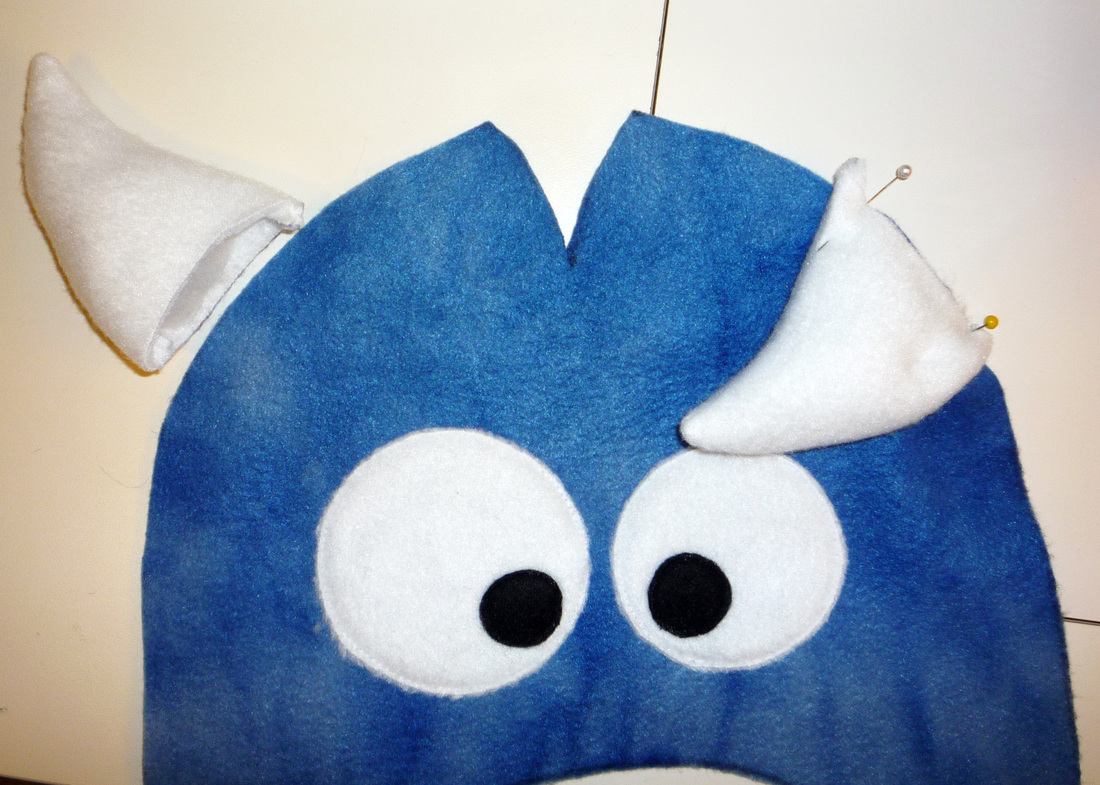
12.  Decide where you want your horn and which way you would like it to point.  Once you have chosen, flip it down and pin it in place.
Picture
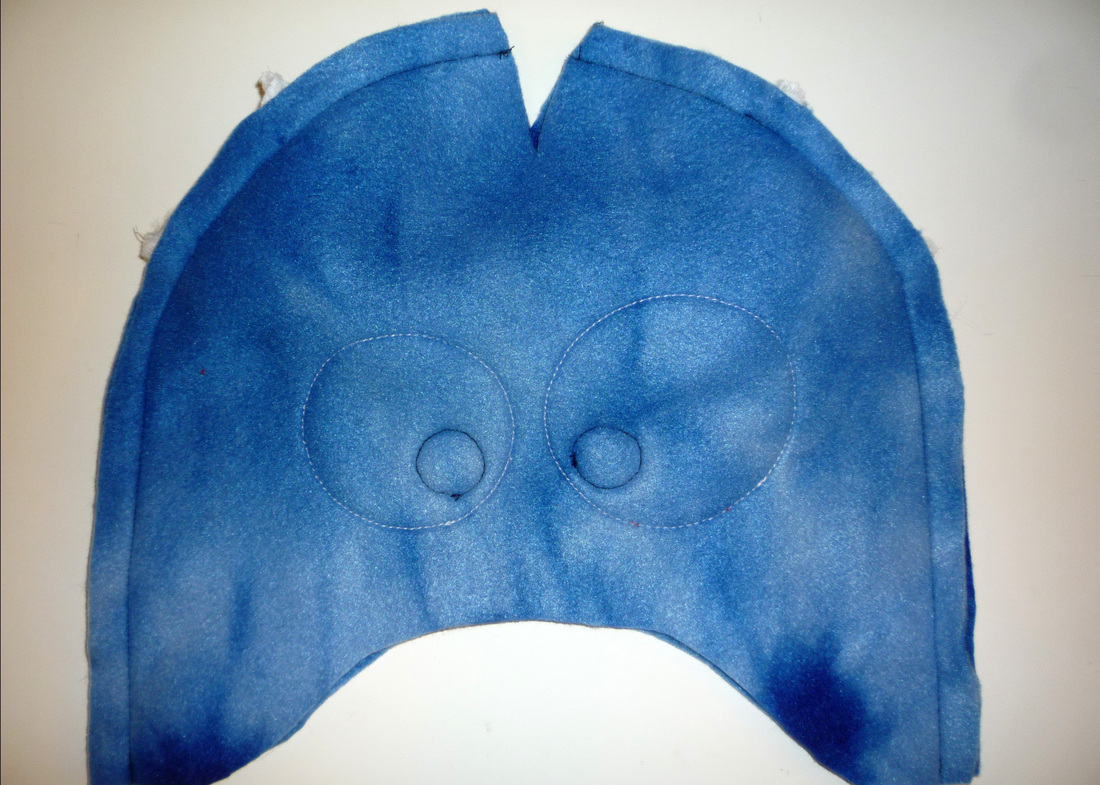
13.  With right sides together, and the horns sandwiched in between, stitch your main hat pieces together along the long sides using a 1/2" seam allowance. Do not sew in the "V" and make sure you do some extra backstitching on the horns to help them stay in place later when they get pulled on!
Picture
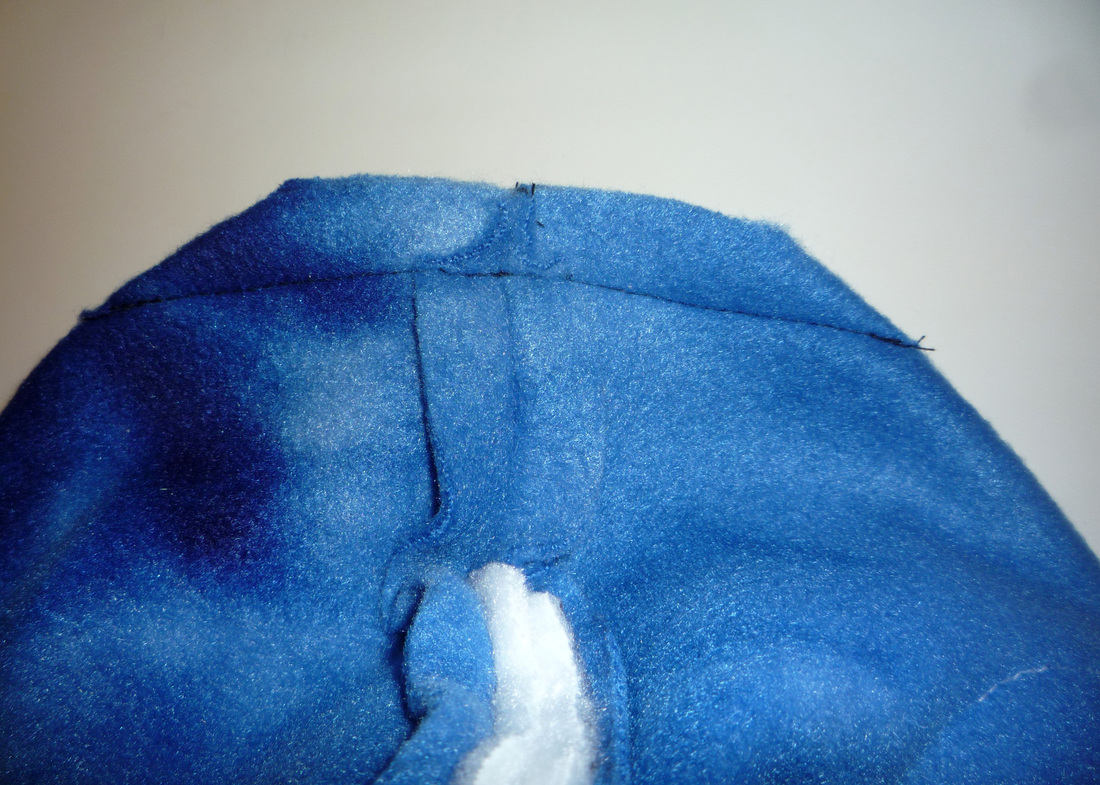
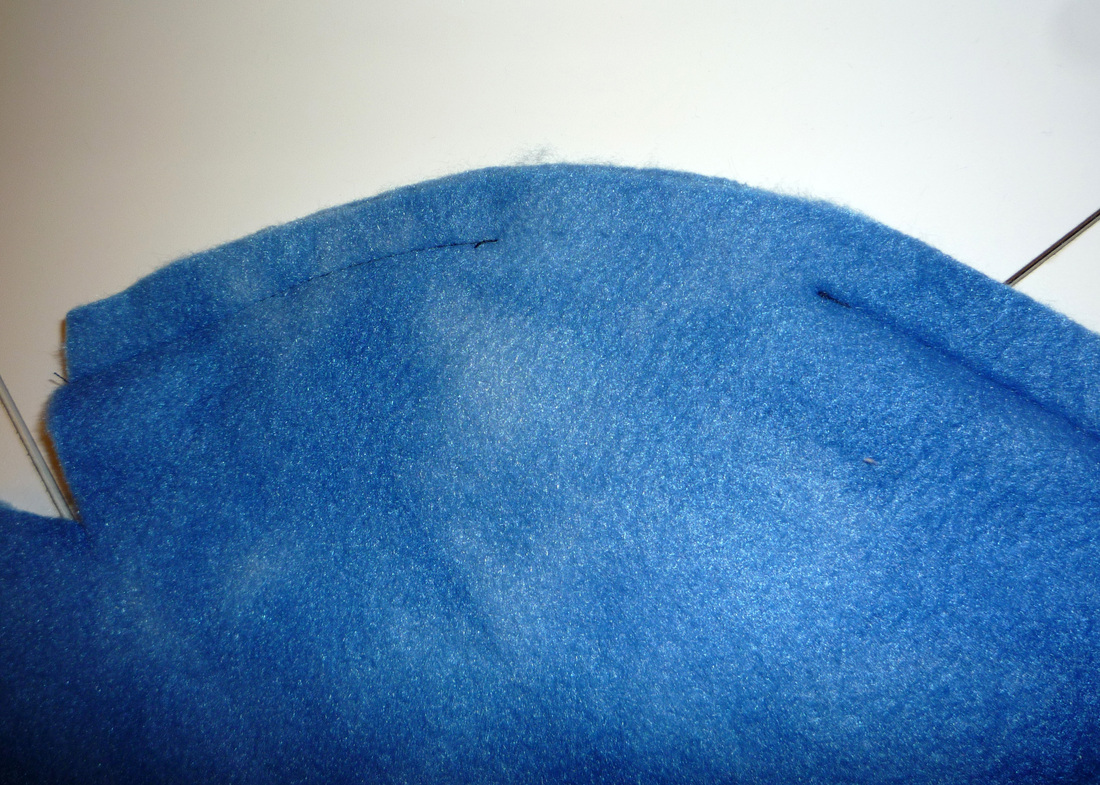
14.  Now, with right sides together, pin the V closed, matching your seamlines from your long seams and sew it using a 1/2" seam allowance.   If you turn it right side out it should now look like a hat!
Picture
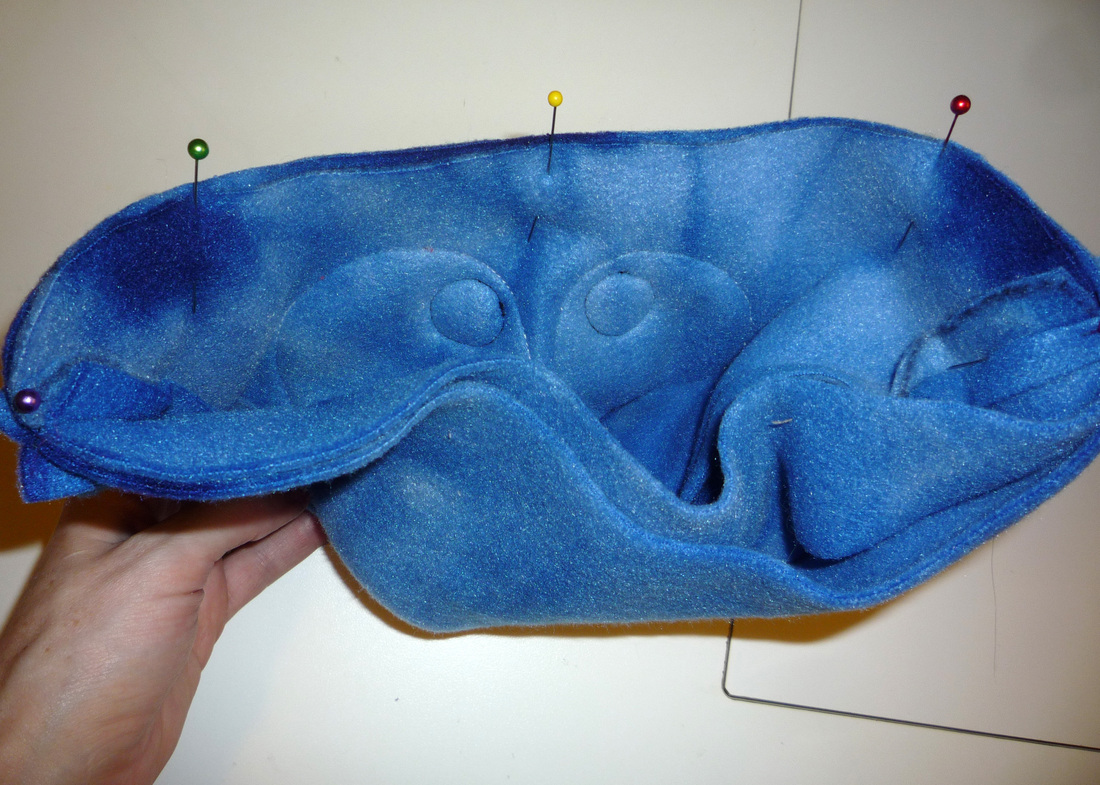
15.  Take your two lining pieces and stitch them, right sides together, like you did with the main pieces above.  Use a 5/8" seam allowance this time (this helps keep it from being bulky inside when you are done).  On one of the long sides, leave about a 1 1/2" gap in your stitching.   After it is stitched, trim the seams (I like to use my pinking shears) to reduce bulk.  You should now have what looks like two hats!
Picture
16.  With right sides together, pin your main piece to the lining along the bottom edge.  Seams should be pinned open and match on the sides.  Stitch with 1/2" seam allowance. 
Picture
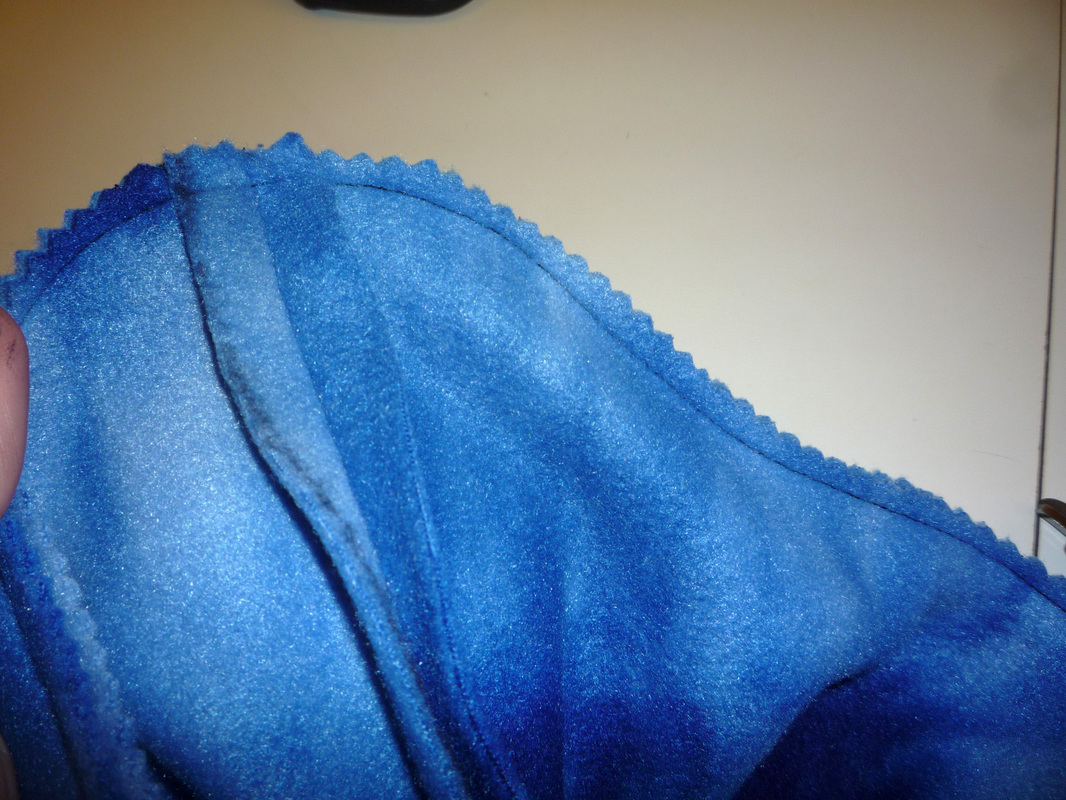
17.  Trim and clip curves (or use pinking shears as I did) close to your seam allowance all the way around the bottom.
Picture
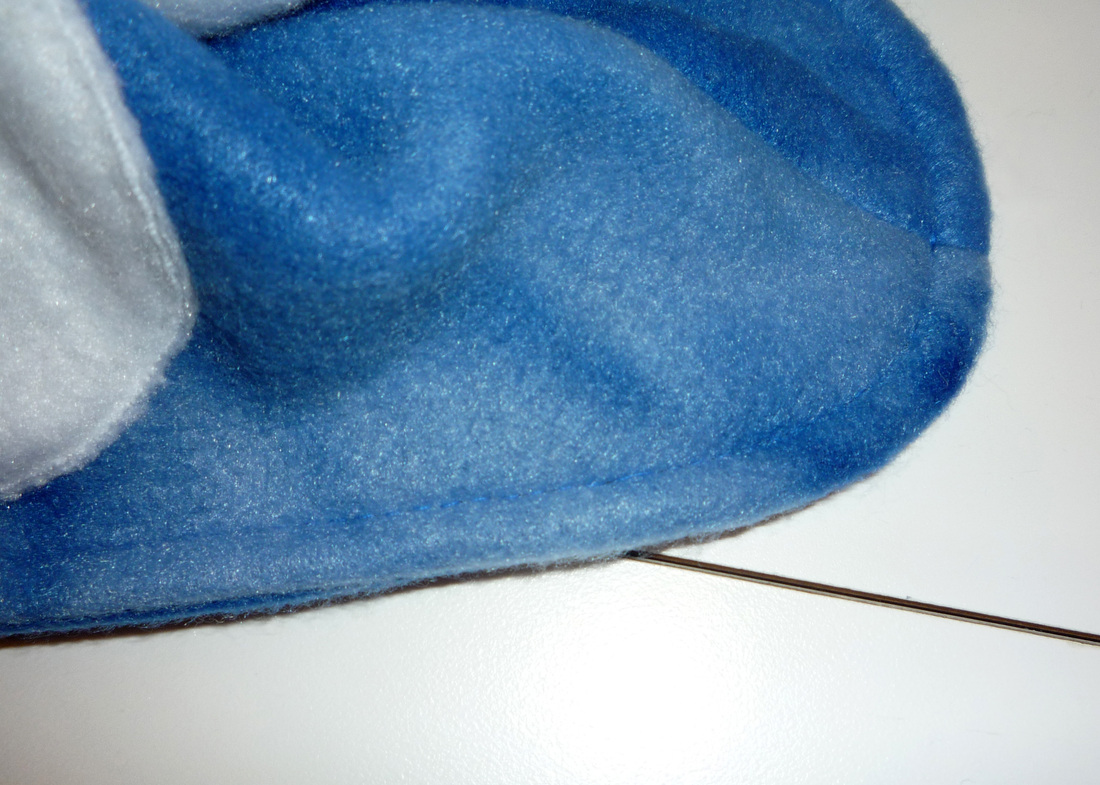
18.  Using the gap you left in the lining, turn your hat right side out.  Tuck the lining into the inside of the hat where it belongs and top stitch 3/8" from the edge all the way around the bottom of the hat. 
Picture
19.  Handstitch the gap in the lining closed and you are done!  Congrats!  Now go try it on your little monster!
Picture
Picture
Picture
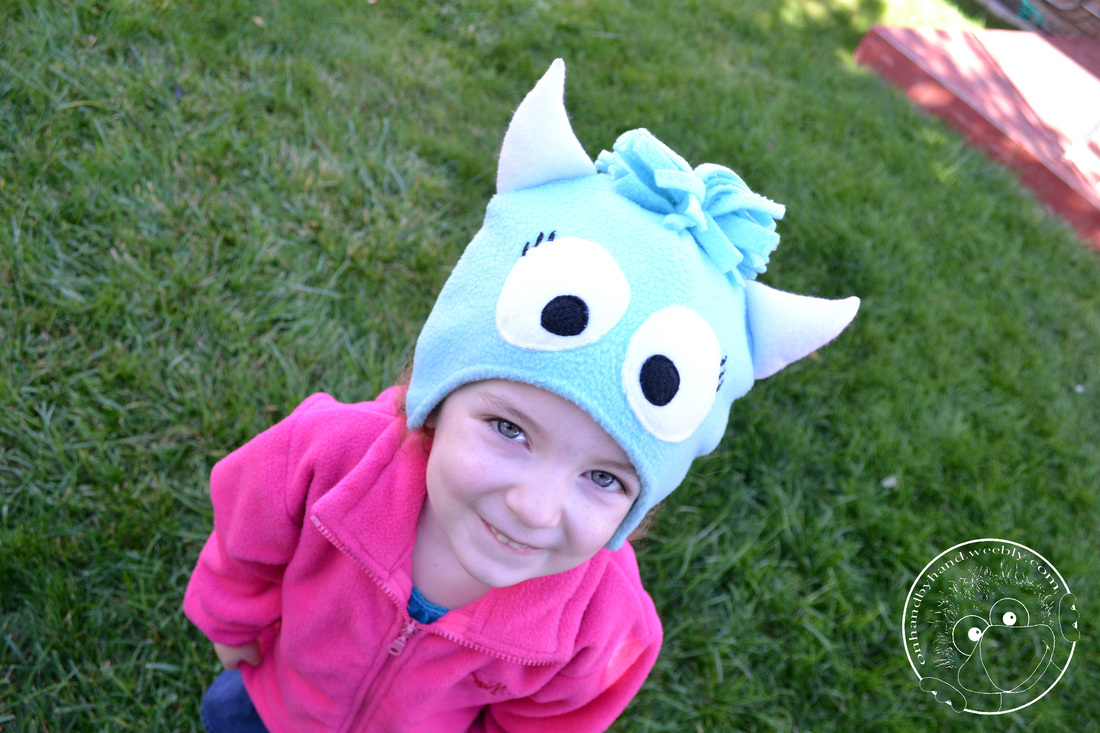
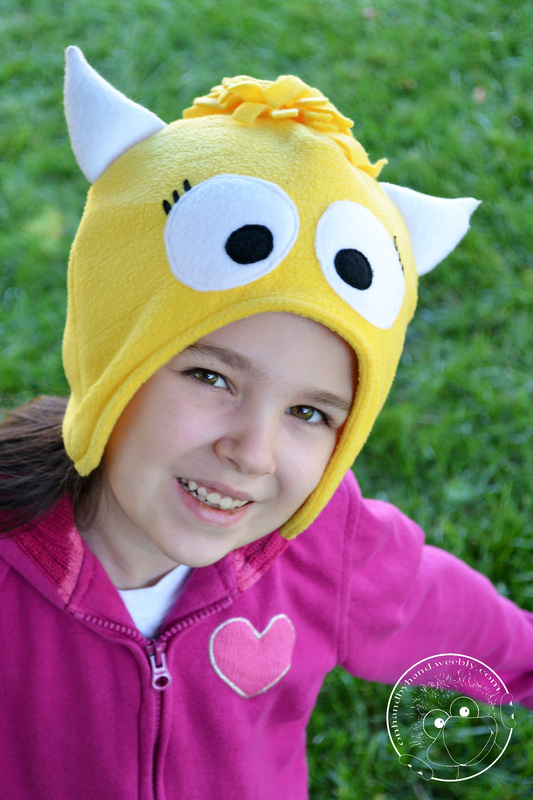
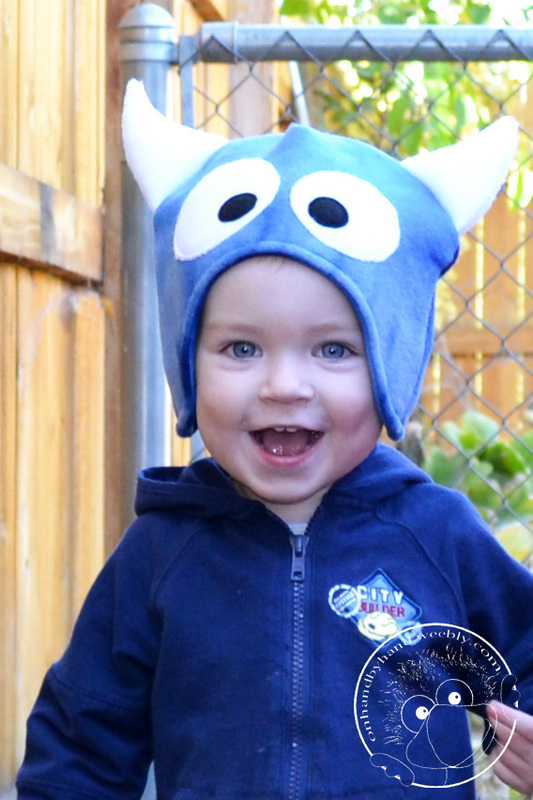
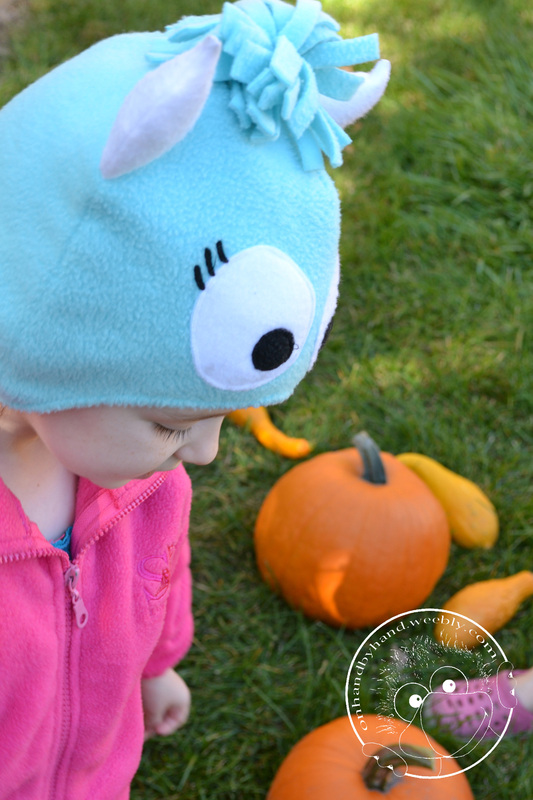
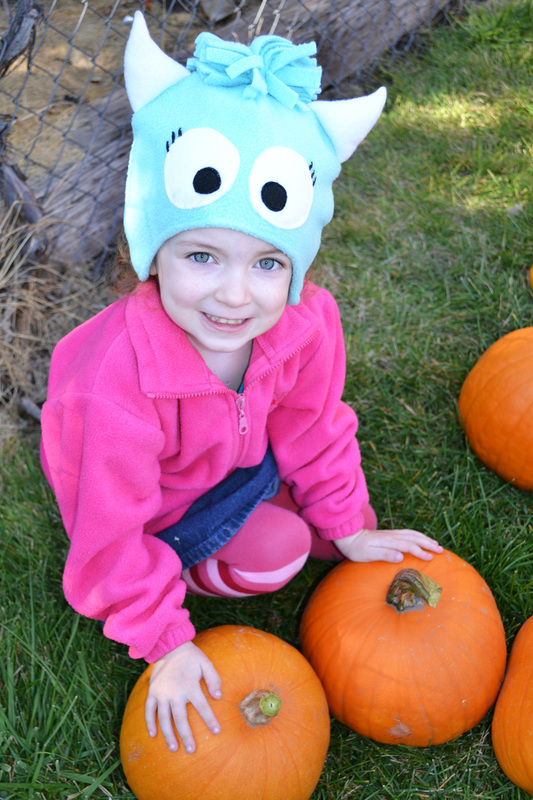
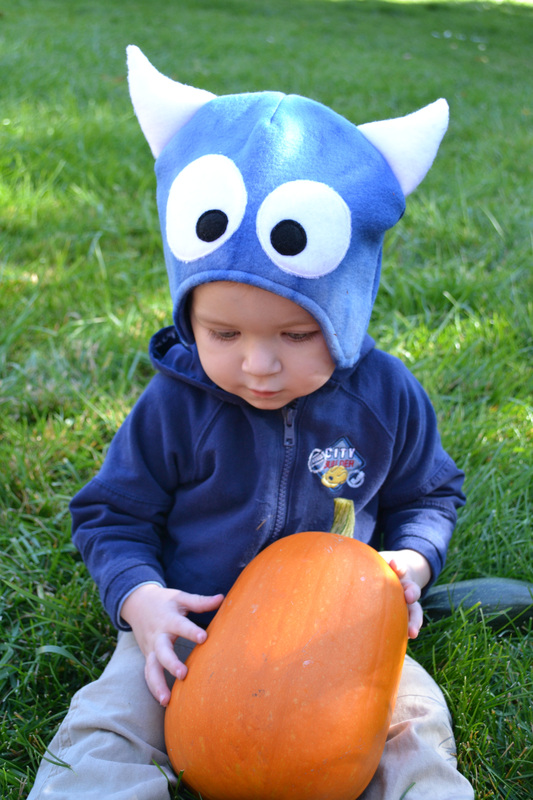
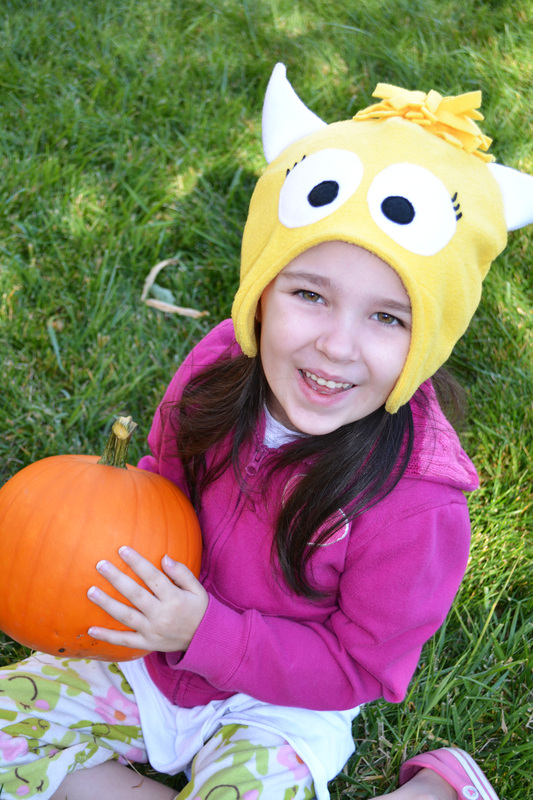
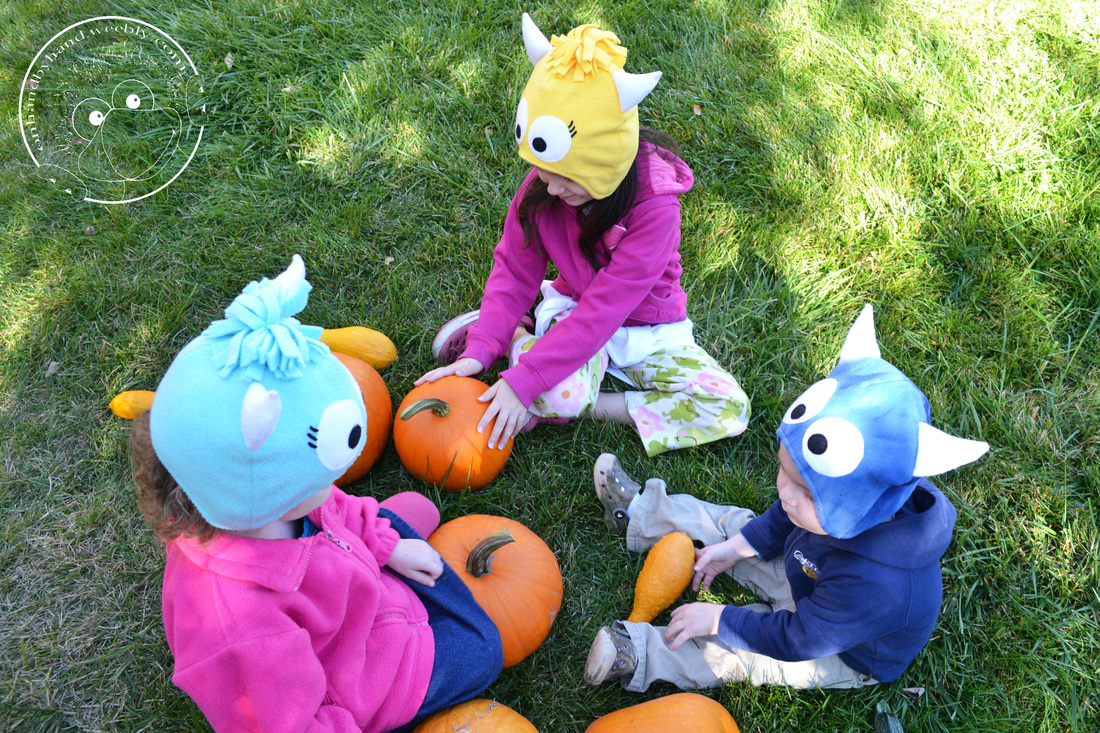
These are my favorite little monsters!  Aren't they cute?  But I'm not biased at all...
Picture
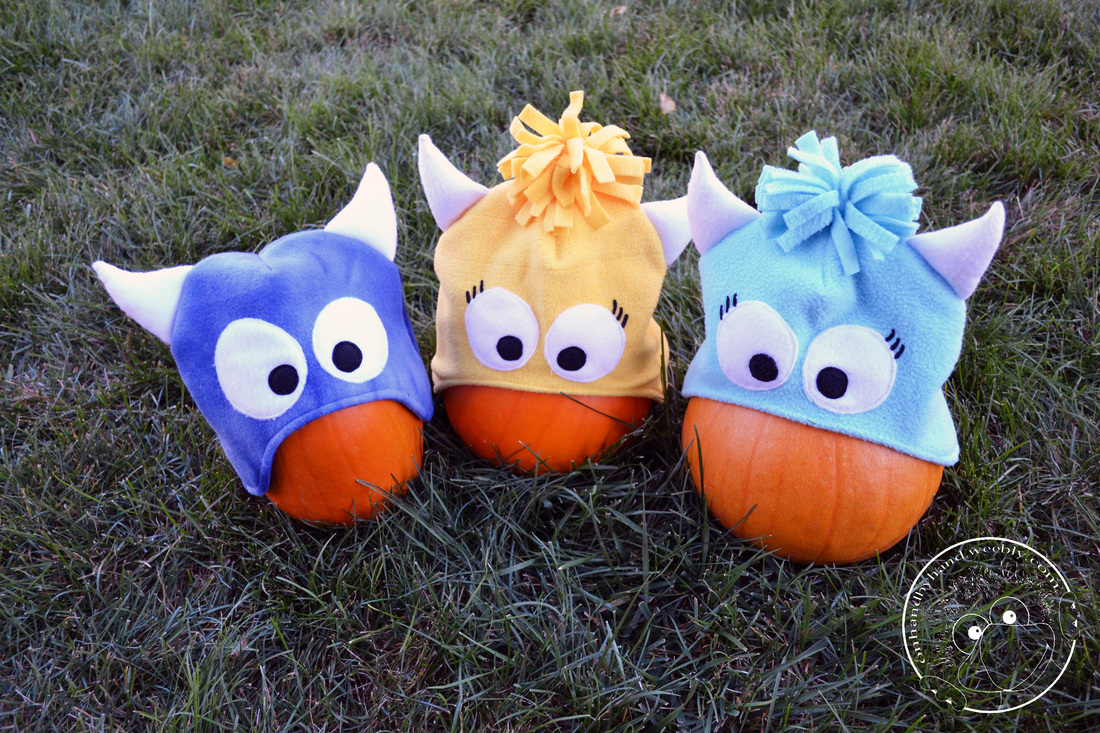
The girl's hats include eyelashes and hair, as requested.  According to them, you can't really tell it's a girl monster (or a girl anything!) unless it has eyelashes :) You can see more versions here.  
Picture
Picture
Picture
We picked the pumpkins in the garden today as an incentive to smile for some pictures-it worked. I think they are pretty happy, don't you? I know I was :) 
Picture
I hope you have as much fun with these hats as we have had!  Happy sewing!
Picture
~Susan
25 Comments
Rachel @onceuponasewingmachine link
10/16/2012 05:20:57 am

These are so stinkin cute! Thanks for sharing that pattern. Now I'm glad I procrastinated making the kids hats!

Reply
Dona Reynolds link
10/16/2012 07:36:31 am

I'm going to make these for the kids at Sacred Heart CHildren's Hospital. Awesome and perfect for keeping their heads warm!

Dona
http://sewingmilesofsmiles.blogspot.com

Reply
Susan
10/19/2012 11:59:17 am

I saw all the amazing things you make for the hospital and was so impressed! What lucky kids- they must get so excited when they see you coming! I hope they love the hats too!

Reply
Miranda
10/16/2012 12:53:42 pm

I am so excited I found these! I think I am going to make them for my boys for Christmas. Thanks for sharing!

Reply
Nini & the Sea link
10/17/2012 11:57:02 am

These are adorable! We have some little monsters in our family that would be perfect for these hats!!! Thanks for sharing the pattern!

Reply
Sharon
10/17/2012 05:41:22 pm

Thank-you for sharing this pattern. I'm off to make some for the kiddies in the Oncology unit.

Reply
Susan link
10/19/2012 12:00:37 pm

What a great thing to do- I am so impressed by your generosity! I hope it brings smiles to those sweet kids faces-they deserve it!

Reply
Rita link
10/18/2012 01:22:49 am

so cute! Thanks for sharing

Reply
Nancy at Maddalee link
10/18/2012 02:50:32 am

Awww, very cute hat and even cuter little boy! Thank you so much for sharing.

Have a good day, Nancy

Reply
Susan link
10/19/2012 12:01:39 pm

Thank you! I'm very attached to that sweet boy.

Reply
Kim @ The Educators' Spin On It link
10/21/2012 12:49:50 am

These are so adorable! My daughter is having a hat parade at school for Halloween and the would be perfect. Thank you so much for sharing. We'd love for you to share this on our Homemade Costume Parade. Here's the link http://theeducatorsspinonit.blogspot.com/2012/10/join-homemade-costume-parade.html

Reply
Kathie link
10/21/2012 02:29:13 am

These monster hats are AWESOME! Love the little pom poms you added to the top! Kids will have so much fun wearing these! Thanks for sharing at Gettin' Krafty!

Reply
cliodana link
10/26/2012 09:23:02 pm

Thank's for that tutorial, on of my boy was sick this week so i made him a monster hat! : http://www.cliodana.blogspot.ca/2012/10/un-petit-monstre-malade.html

thank's to you

Reply
Amy link
11/12/2012 05:17:21 am

Thank you for this tutorial! I made a monster hat for my son and god-daughter, and plan on modifying it to make a cat, monkey, and bear for the kids in my family for Christmas. :) Thanks again, so much!

Reply
Curious Little Bird link
1/17/2013 01:42:07 pm

This is so cute! I love the idea. :)

Reply
Kristy link
10/3/2013 07:25:03 am

Thank you for sharing this! So cute!!! Getting ready to make some for the charity project at Hopeful Threads this month! :)

Reply
Lisa
12/3/2013 09:45:34 pm

Hello, Thank you so much for the pattern. I have four grandkids one boy and three girls that I am making hats for. I have two hats in the works but got to the Vs in the tops and thought "hmmm how do I do those pom poms for the girls?" I am a real newby at these hats. Any tips?????
Your kids are adorable BTW.

Reply
Jory
1/12/2014 03:31:36 am

I made a hat for my one year old and she looks so cute in it. Genius idea for sewing on the eyes. I also used the eye template for an owl pillow and it worked great. Thanks!

Reply
Ева
3/10/2014 06:23:30 am

Thanks, my daughter very like this hat, good pattern, easy sewing!

Reply
Anie
10/23/2015 11:43:38 pm

Anyone having problems with the sizing? In paper, sizing was fine but I used good quality fleece (therefore, quite thick) and ended up with a hat way too small... Otherwise, excellent pattern and explanations. Perfect hat to go with a Hallowe'en costume!

Reply
Susan
10/28/2015 06:16:44 pm

Did you print the pattern actual size? Printers are often set to print to fit which would make the pattern smaller.

Reply
Celie
11/18/2016 06:12:00 pm

I just made 2 of these for my grandsons! The aplique method rocks! They are darling! Thank you for sharing! What a gift! :)

Reply
Janet link
12/9/2016 03:05:41 pm

Love these hats! Have made some for my grandsons and now would like to make one for a little girl. How did you do the "hair" on the top of the girls' hat?

Reply
Beth link
10/27/2018 05:20:24 pm

Thank you for sharing this tutorial! I modified it to make a Pete the Cat hat for my toddler’s Halloween costume. :)

Reply
estelle Howell link
1/14/2021 06:24:31 am

I have to send some to St. Judes. Thanks for the instructions and pattern.

Reply


Leave a Reply.

    Authors

    Sarah & Susan-Two creative puppet loving sisters just sharing what we know, what we do, and how we create.  Click here for more about us.

    Tutorials

    Picture
    Monster Hat- Free Pattern and Tutorial
    Picture
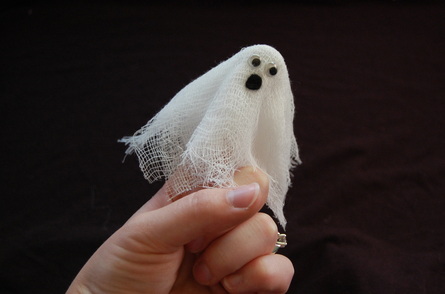
    Ghost Finger Puppet
    Picture
    Magnet Monsters

    Categories

    All
    Activities With The Kids
    Giveaways
    News
    Projects
    Ramblings
    Supplies
    Tutorials
    Videos

    Archives

    July 2015
    September 2013
    July 2013
    April 2013
    February 2013
    January 2013
    November 2012
    October 2012
    September 2012
    August 2012

    Websites We Love

    Jim Henson's Red Book
    Fuzzhead Puppets
    Puppetry Arts Guild of Utah
    Center for Puppetry Arts
    Puppets and Stuff
    The Golden Glue Gun
    Project Puppet
    Puppet Patterns
    Puppeteers Unite
    Puppet Vision
    Tom Haney's Artwork
    Muppet Whatnot Workshop
    Puppet Heap 
    Puppet Muse

    RSS Feed

Powered by Create your own unique website with customizable templates.